
How to cook the perfect venison steak
From sourcing to seasoning and basting to resting, we asked esteemed chef Callum Leslie for his golden rules when cooking venison steak.
Everybody likes their steaks cooked differently, but there are some golden rules to bear in mind if you want to achieve tender, succulent and flavoursome steak every time.
Don’t just take our word for it, though... Follow the advice of a professional who has cooked thousands of steaks for discerning diners during a career spent in some of the most revered Michelin-starred kitchens across the UK. We’re talking about someone like Callum Leslie...
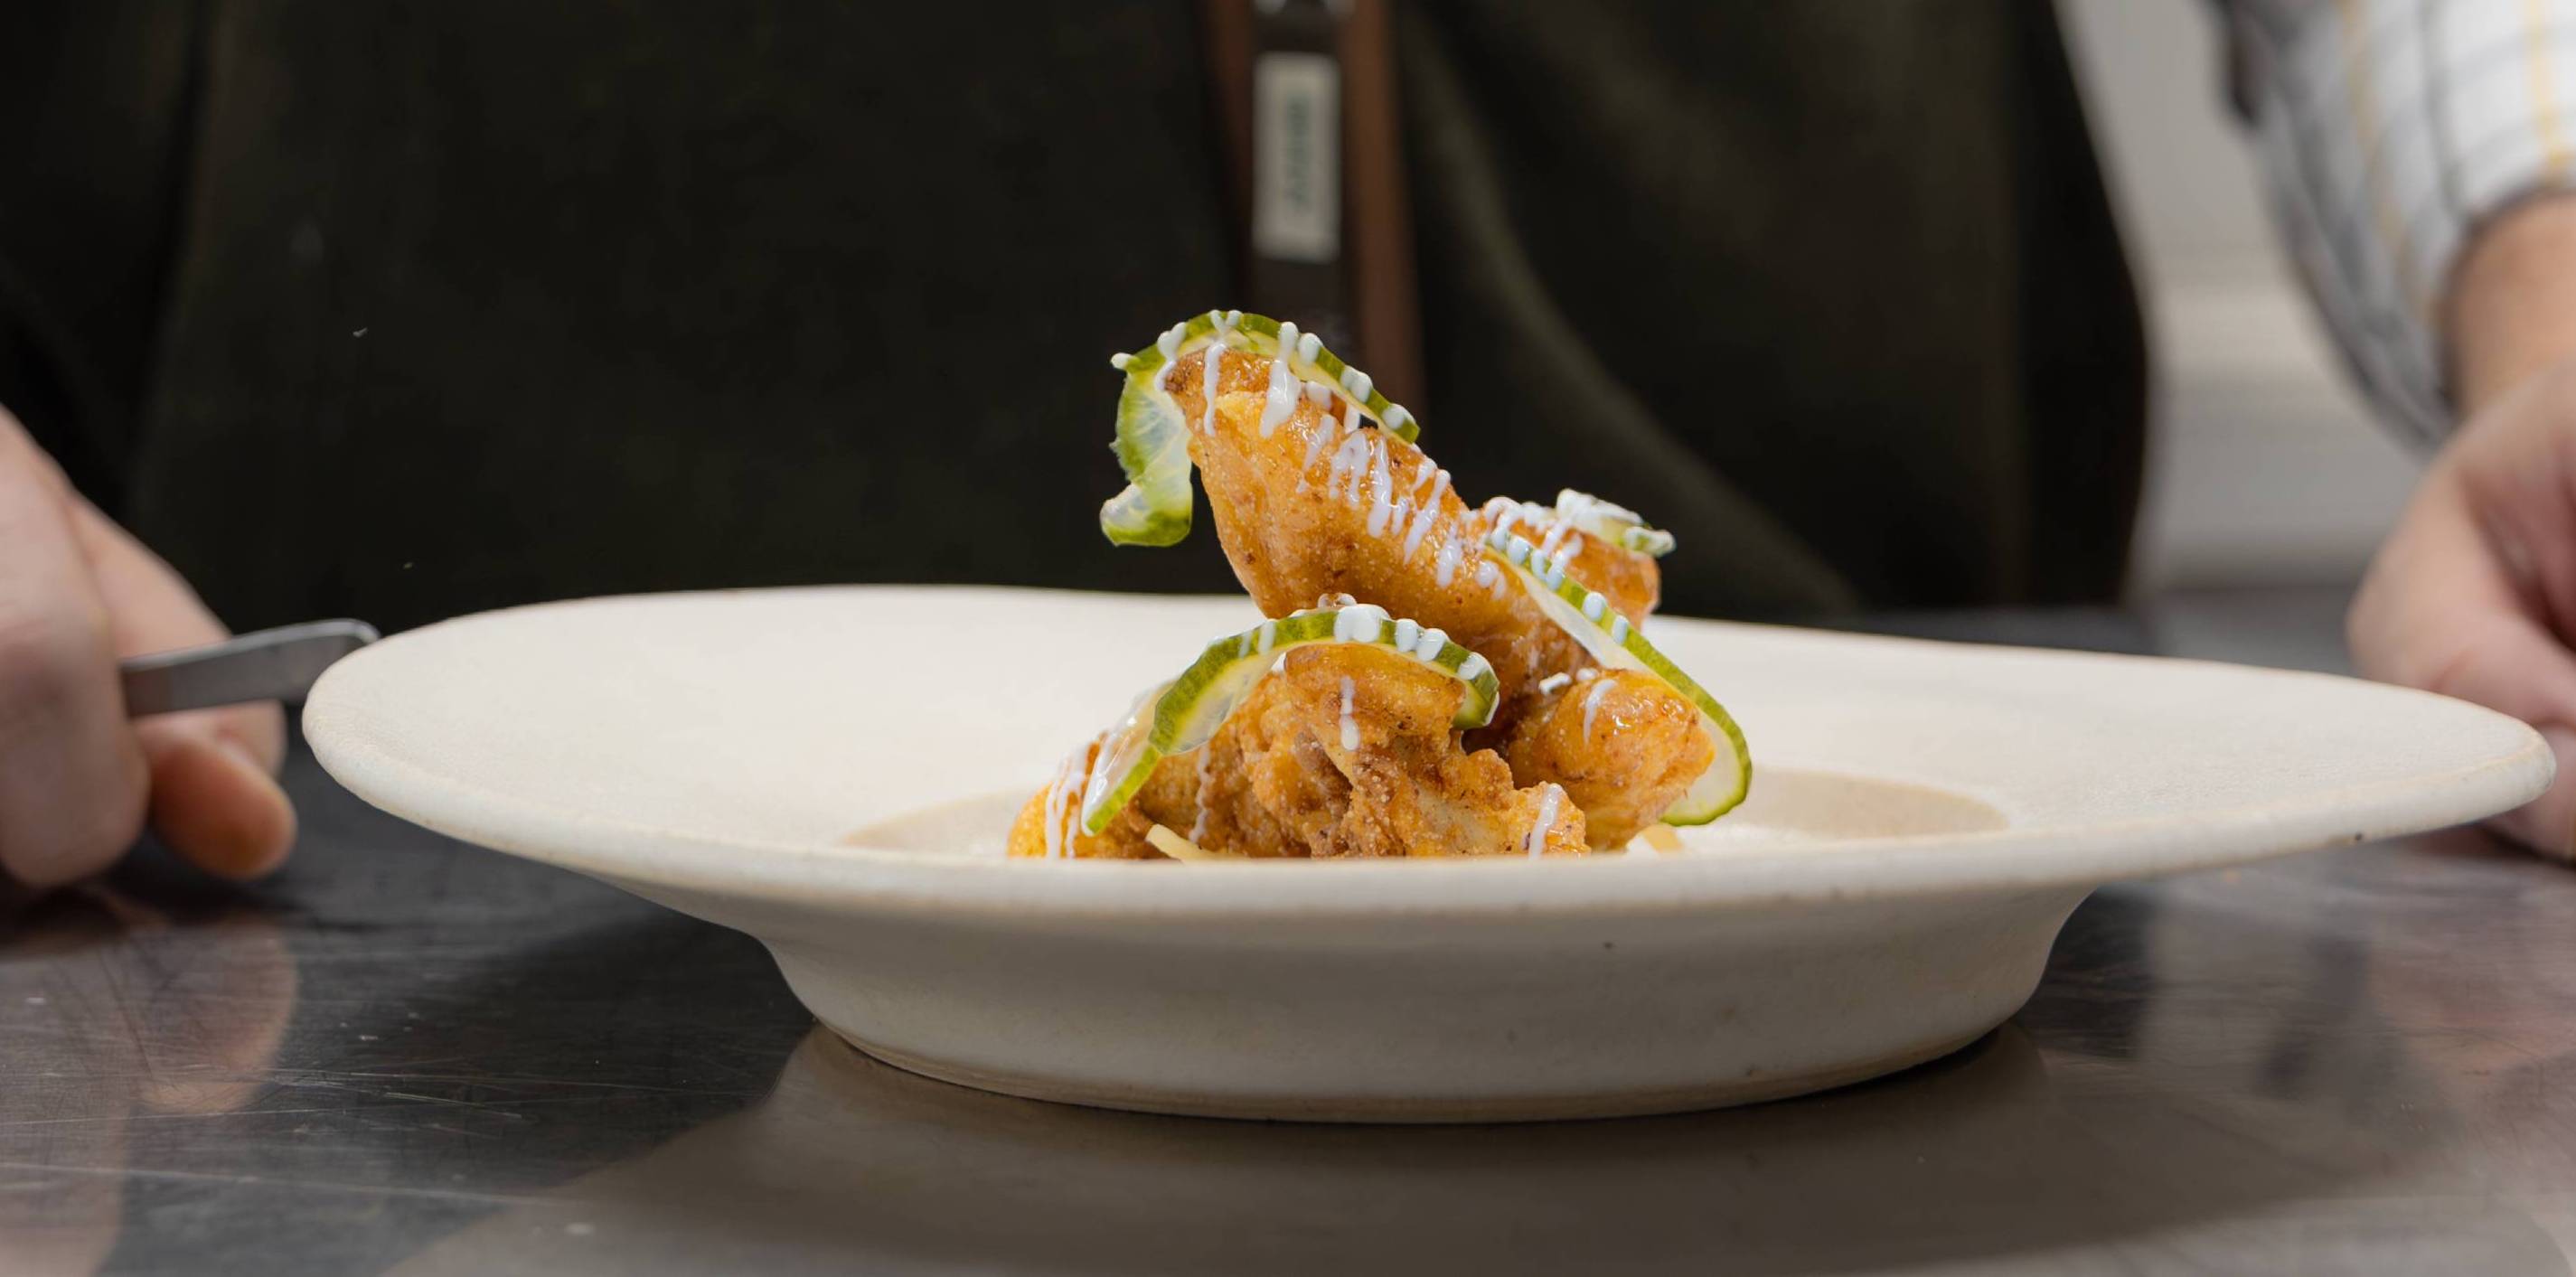
We recently spent a day with Callum, and you can read more about that here. As lunchtime neared, we asked if he could run us through the key points to consider when cooking a venison steak – and he just so happened to have a few venison haunch steaks from wild fallow deer in the fridge. The below summarises the golden rules. Ignore them at your peril...
1. Choose quality meat
Sourcing meat that has been treated with care at every stage of the journey, from the field to the larder and the butcher’s block to the point of sale, is an important factor not to be overlooked. Any purveyor of fine ingredients should be happy to discuss how their product has been handled. In the case of venison, you might like to know the species (there are subtle differences in flavour), the time of year it was harvested, and for how long the carcass was hung before butchering. Do ask questions – as much as anything, it can lead to some interesting conversations.
2. Bring the meat to room temperature before cooking
A common mistake when cooking steak is to take the cut of meat straight from the fridge and place it in a hot pan, without first allowing the meat to sit at room temperature. By giving the meat some time out of the fridge before cooking – Callum recommends at least an hour – you allow its internal temperature to rise, which aids even cooking all the way through.
3. Season your steak
It sounds simple, but it can make a huge difference. Seasoning your steak with good quality sea salt – Callum uses Maldon sea salt – and cracked black pepper before and after cooking will enhance the flavour and is a step not to be skipped.
4. Preheat your oven
By finishing the cooking in an oven, you can achieve that even finish throughout and avoid overcooking the outer edges of your steak, which is a symptom of trying to finish the whole process in a pan. But first, preheat your oven – it should be up to temperature (Callum tends to cook his steaks at 180C for 3-6 minutes, depending on the size of the steak) before it is used.
5. Achieve the correct temperature in your pan
The pan needs to be hot enough to sear the outside of the steak and achieve that enticing caramelisation, but not so hot that it starts to burn the seasoned outer and cause bitterness. Before you add the steak to the pan, the oil should be shimmering.
6. Achieve caramelisation on all sides
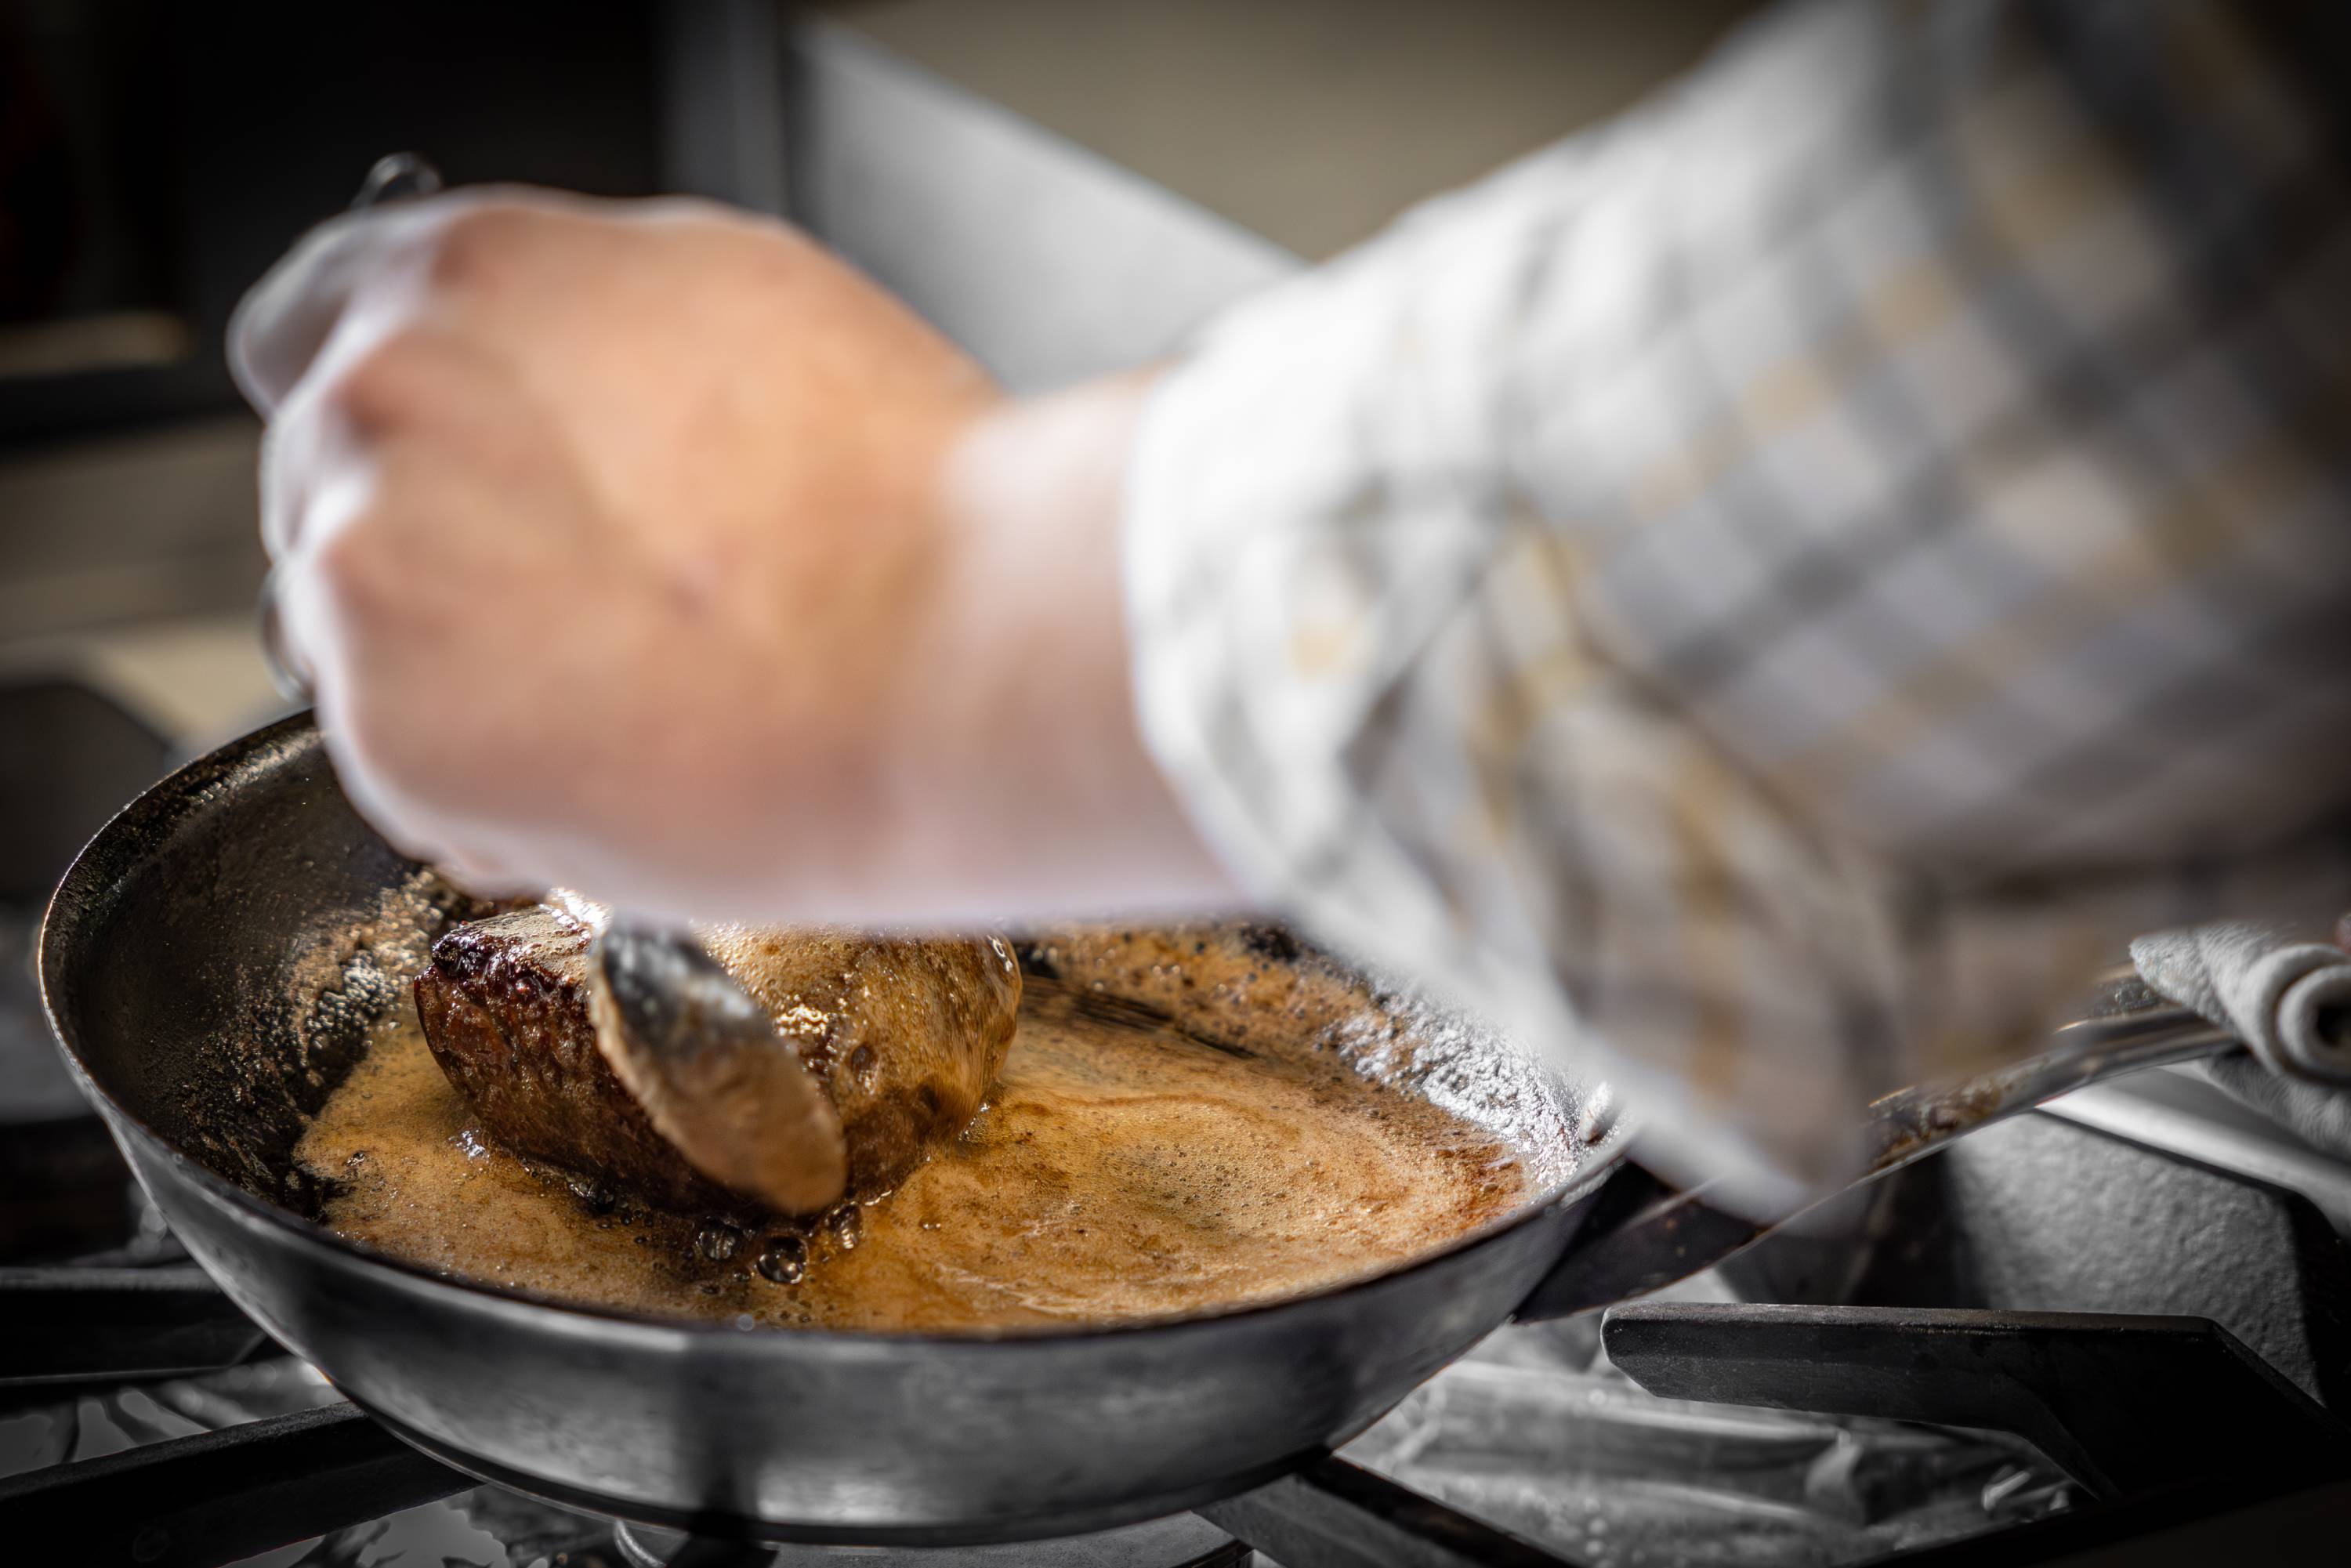
Don’t be too quick to turn your steak once in the pan. You’re looking to achieve that nice brown caramelisation all over. And don’t forget the sides. As Callum was quick to point out, by sealing all over you help to trap the juices in the steak, which is of particular importance with a lean meat like venison.
7. Add your butter at the right time
If you add your butter too early in the cooking process, you risk it burning before you have achieved that caramelisation. Once the meat is a lovely brown colour all over, Callum generally cools the pan down with a little oil before adding several knobs of unsalted butter. This stops the butter from burning, which is then used to baste the steak continuously before it goes in the oven.
8. Check the internal temperature
Once the steak has been in the oven for a few minutes, Callum will check its internal temperature using a temperature probe. For a medium-rare steak, he’s looking for an internal temperature of 43C. The temperature of the steak, Callum explains, continues to rise for a short time once out of the oven.
9. Rest your steak once cooked
Resting time varies, depending on the size of the steak, but resting meat is absolutely essential if you want to enjoy it at its best, retain the steak’s juices and allow it to relax and tenderise after cooking. After basting it with the butter mixture one last time, Callum rests his steak on a wire tray, which allows it to cool evenly, without hotspots. He leaves his steak to rest for at least 10 minutes before carving.
10. Carve against the grain
If you look carefully at the outside of your cooked steak, you should be able to see the ‘grain’ – parallel lines that run through the meat. You should be cutting directly against that grain, as this cuts through the muscle fibres, rather than along them, making the meat easier to chew.


