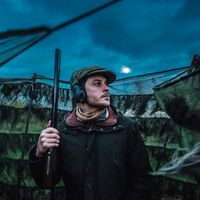
Eight steps to becoming a better game Shot, with Simon Ward
What are your answers to the questions below? Esteemed game shooting coach Simon Ward spoke to Schöffel Country and shared some invaluable advice for those looking to improve their performance on the peg.
There’s a lot to think about when shooting driven pheasants and partridges. And when it comes to improving our shooting performance, finding advice that hits the sweet spot between over-simplification and becoming bogged down by too much detail, is crucial to actually learning something.
Schöffel Country field consultant Simon Ward is one of the country’s foremost game shooting coaches and specialises in in-the-field tuition. His ability to articulate how and why to alter different aspects of your shooting is second to none. Recently, as Simon made his way back from a couple days’ partridge shooting in Devon, we caught up with him to pick his brains and, for your benefit, distil some of his knowledge into the points that follow.
Whether you’re looking to refine your balance and footwork, keep the gun moving after taking a shot, better judge the line and speed of a bird, or build on the consistency of your gun mount, the below is a must-read. No, it’s not an exhaustive list. There is, though, a very good chance that you won’t have come across advice relating to the fundamentals of shooting conveyed in such a way before.
How prepared are you for your day’s shooting?
Proper preparation, according to Simon, can make a real difference to your shooting performance – and he’s not just talking about regular practice at the clay ground. “Having the right kit and being clear on the order of the day starts you off on a good footing,” he said. “That then sets the tone for the rest of the morning and afternoon.
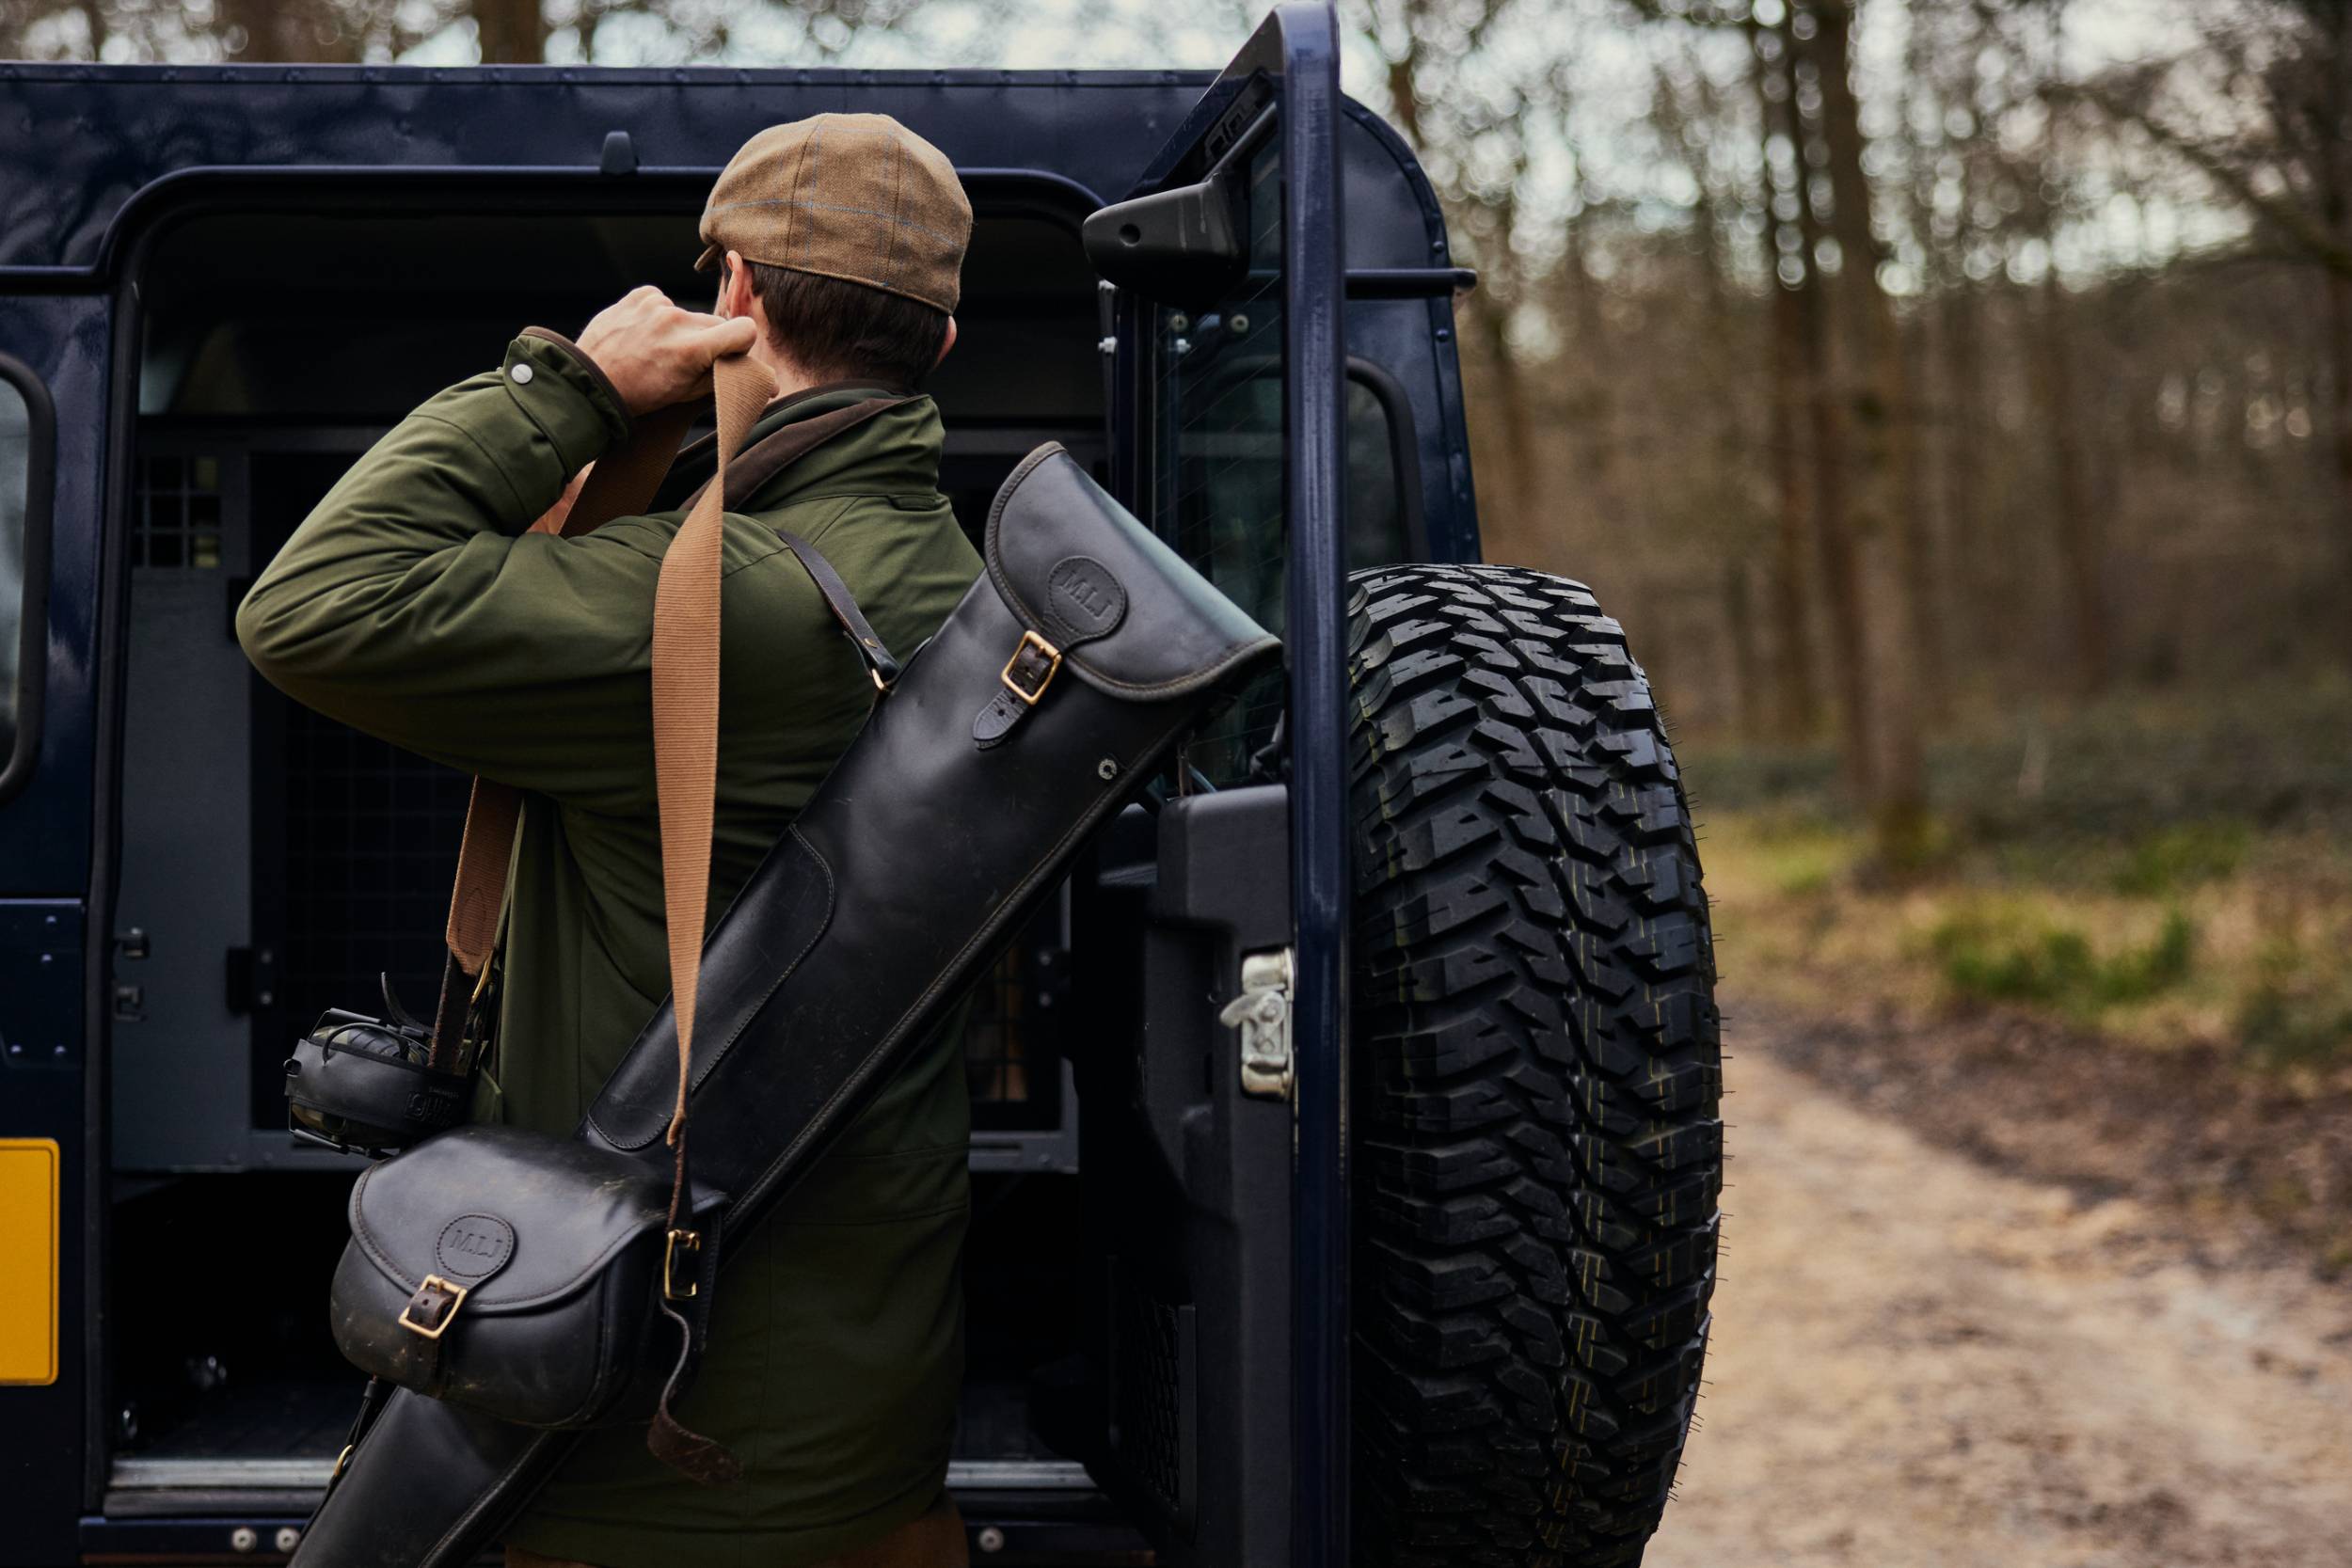
“I always check the weather forecast a few days before and then on the morning of the shoot day and pack my car accordingly,” Simon continued. “Layers, sets of waterproofs, leggings... If you’re organised, you start the day well. It’s not just the obvious things like remembering your gun and cartridges, either, but the likes of having working batteries in your ear defenders, shooting glasses, and a spare cap for the afternoon if rain is due.
“Ultimately, you should be able to stand on your peg without distractions that come from being unprepared,” Simon put it, simply. That means listening carefully to the morning briefing, during which your host will share important details like how you will get between drives, how many peg numbers you will be moving up each time, and whether somebody will be picking up your spent cartridges. ‘Preparation’ might seem obvious, but it’s a very good place to start, and nobody wants to start a day’s shooting stressed, frustrated, or unsure about something.
Do you build a picture of what the birds are likely to do?
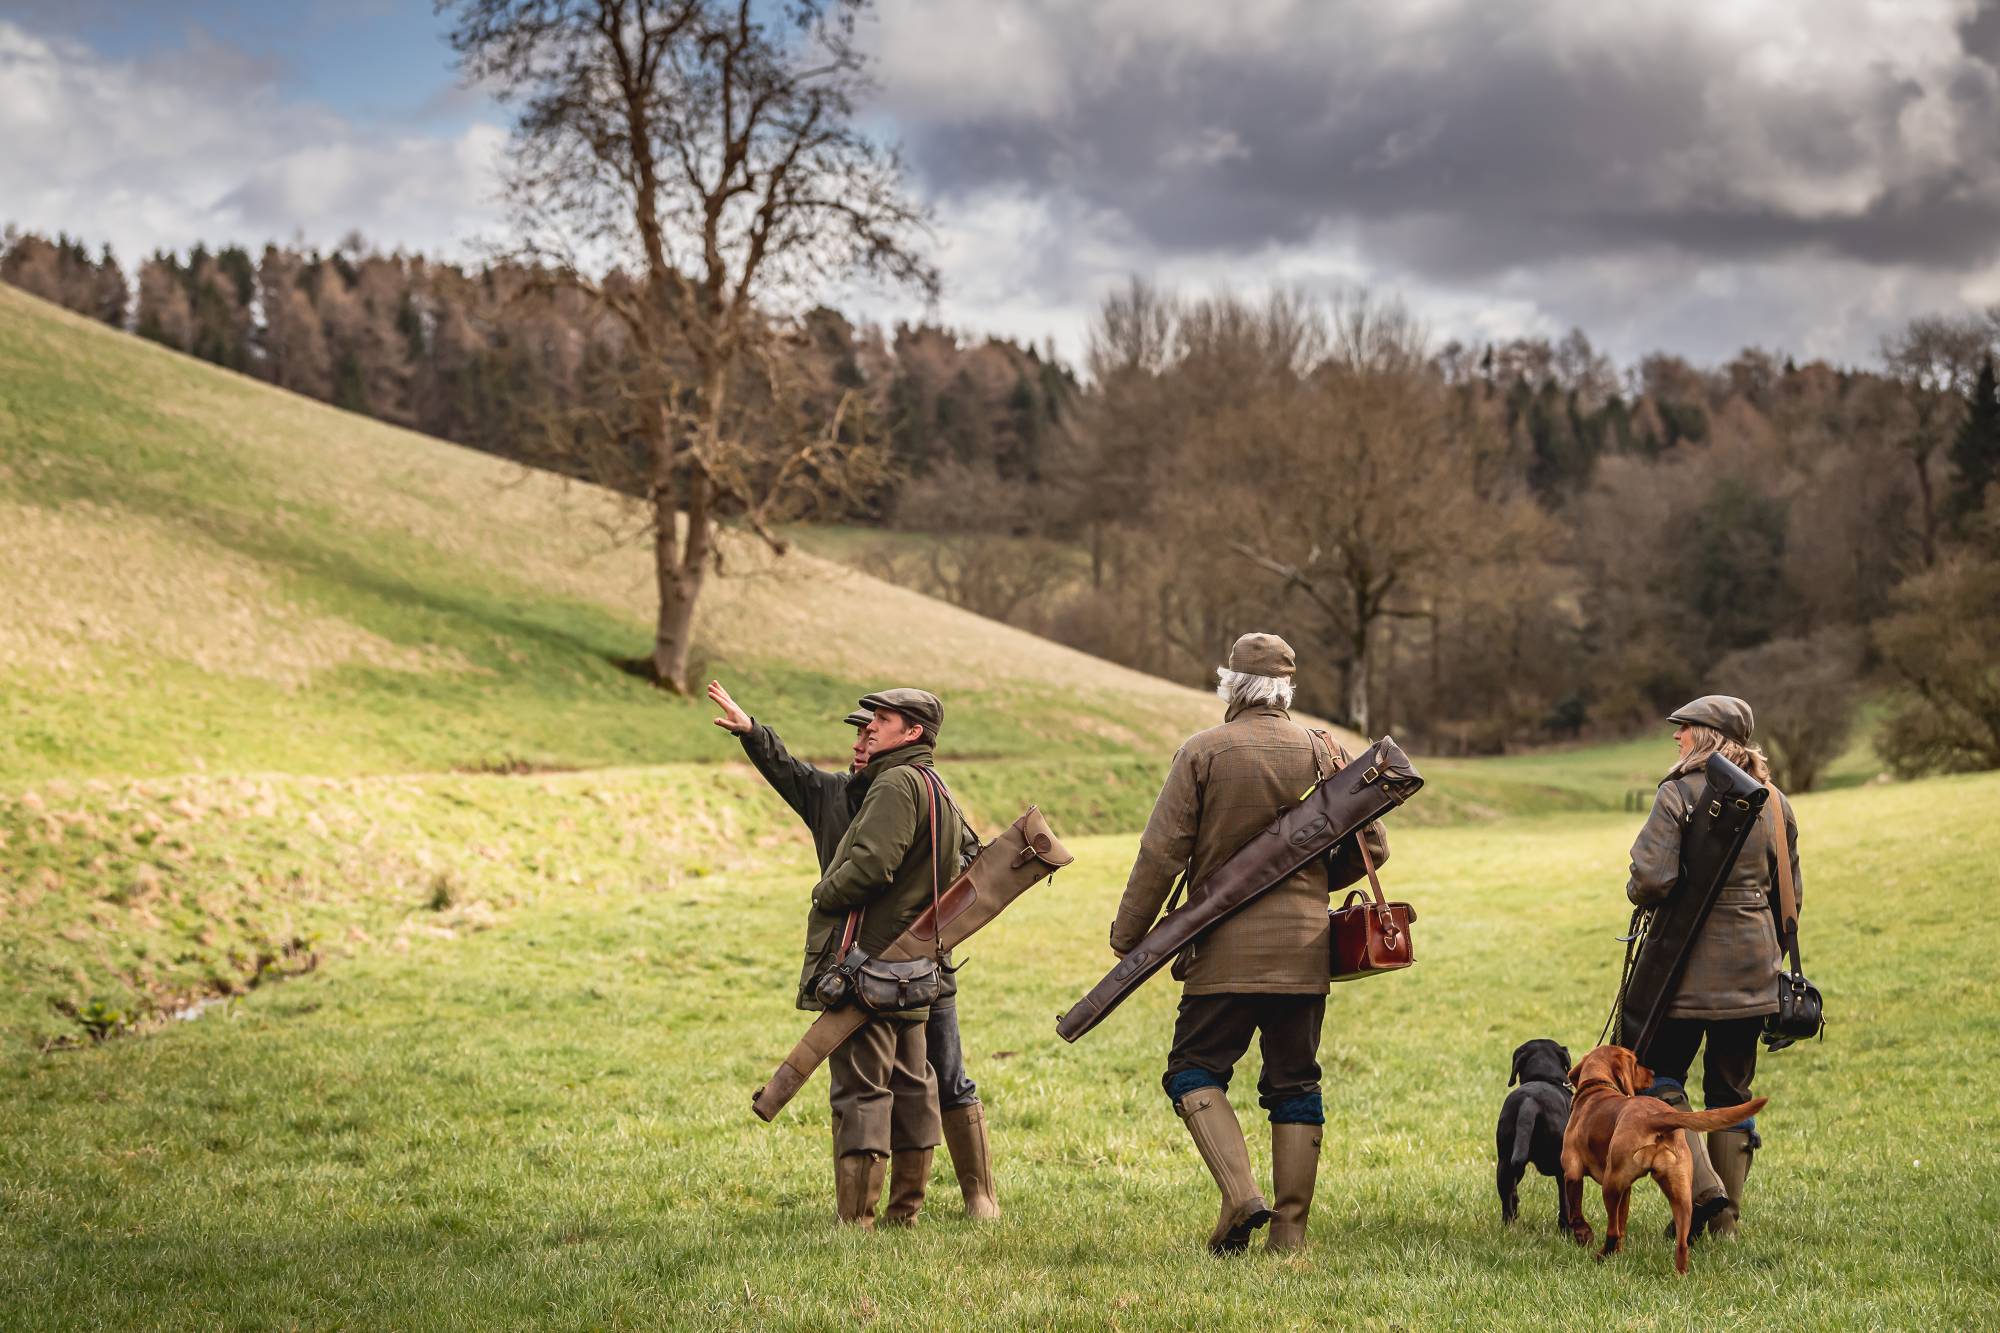
“Fieldcraft is important if you want to shoot well,” said Simon. “As soon as you get out of the gunbus or the car to walk to your peg, have a good look at your surroundings. Use your imagination and visualise the location of where you will be standing in relation to where the birds are likely to be coming from. Consider the wind speed and direction and the way that will affect how the birds fly, too.
“It’s forward planning. Reading the situation and what the birds are likely to do in the conditions is a big part of shooting consistently well.
“Of course, you have to treat every bird on its own merit, but building a picture of what many of the birds are doing – or likely to do before you address your first of the day –allows you to hit the ground running, as it were.
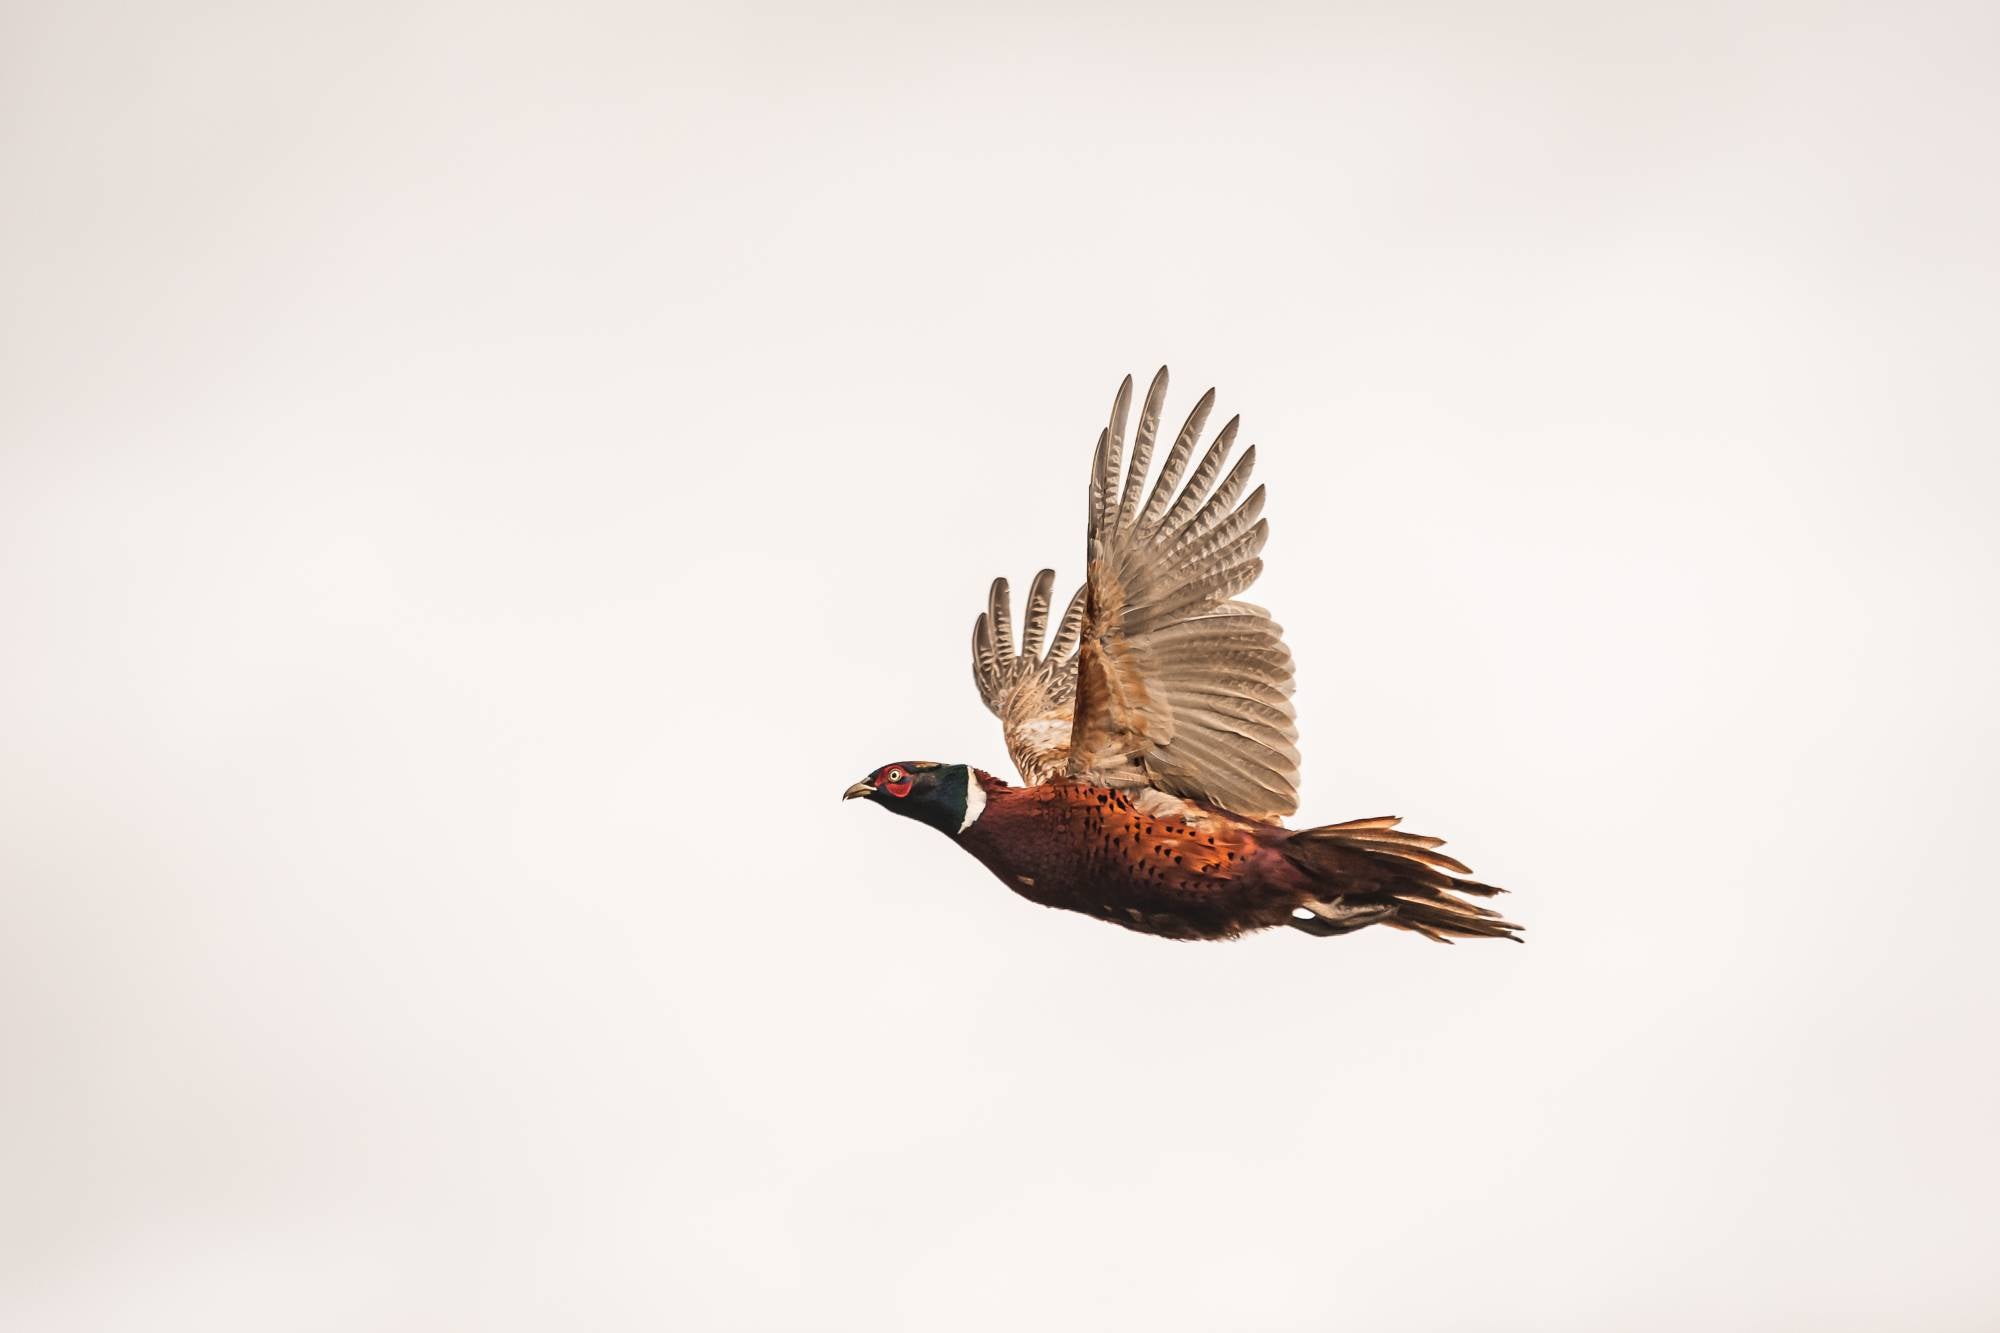
“To help build this picture, use the time when your neighbouring Guns are shooting (but you aren’t) to really watch how the birds are flying. How are they using the weather conditions? Are they dropping, rising, curling, diving, sliding?”
Are you standing correctly before you mount your gun?
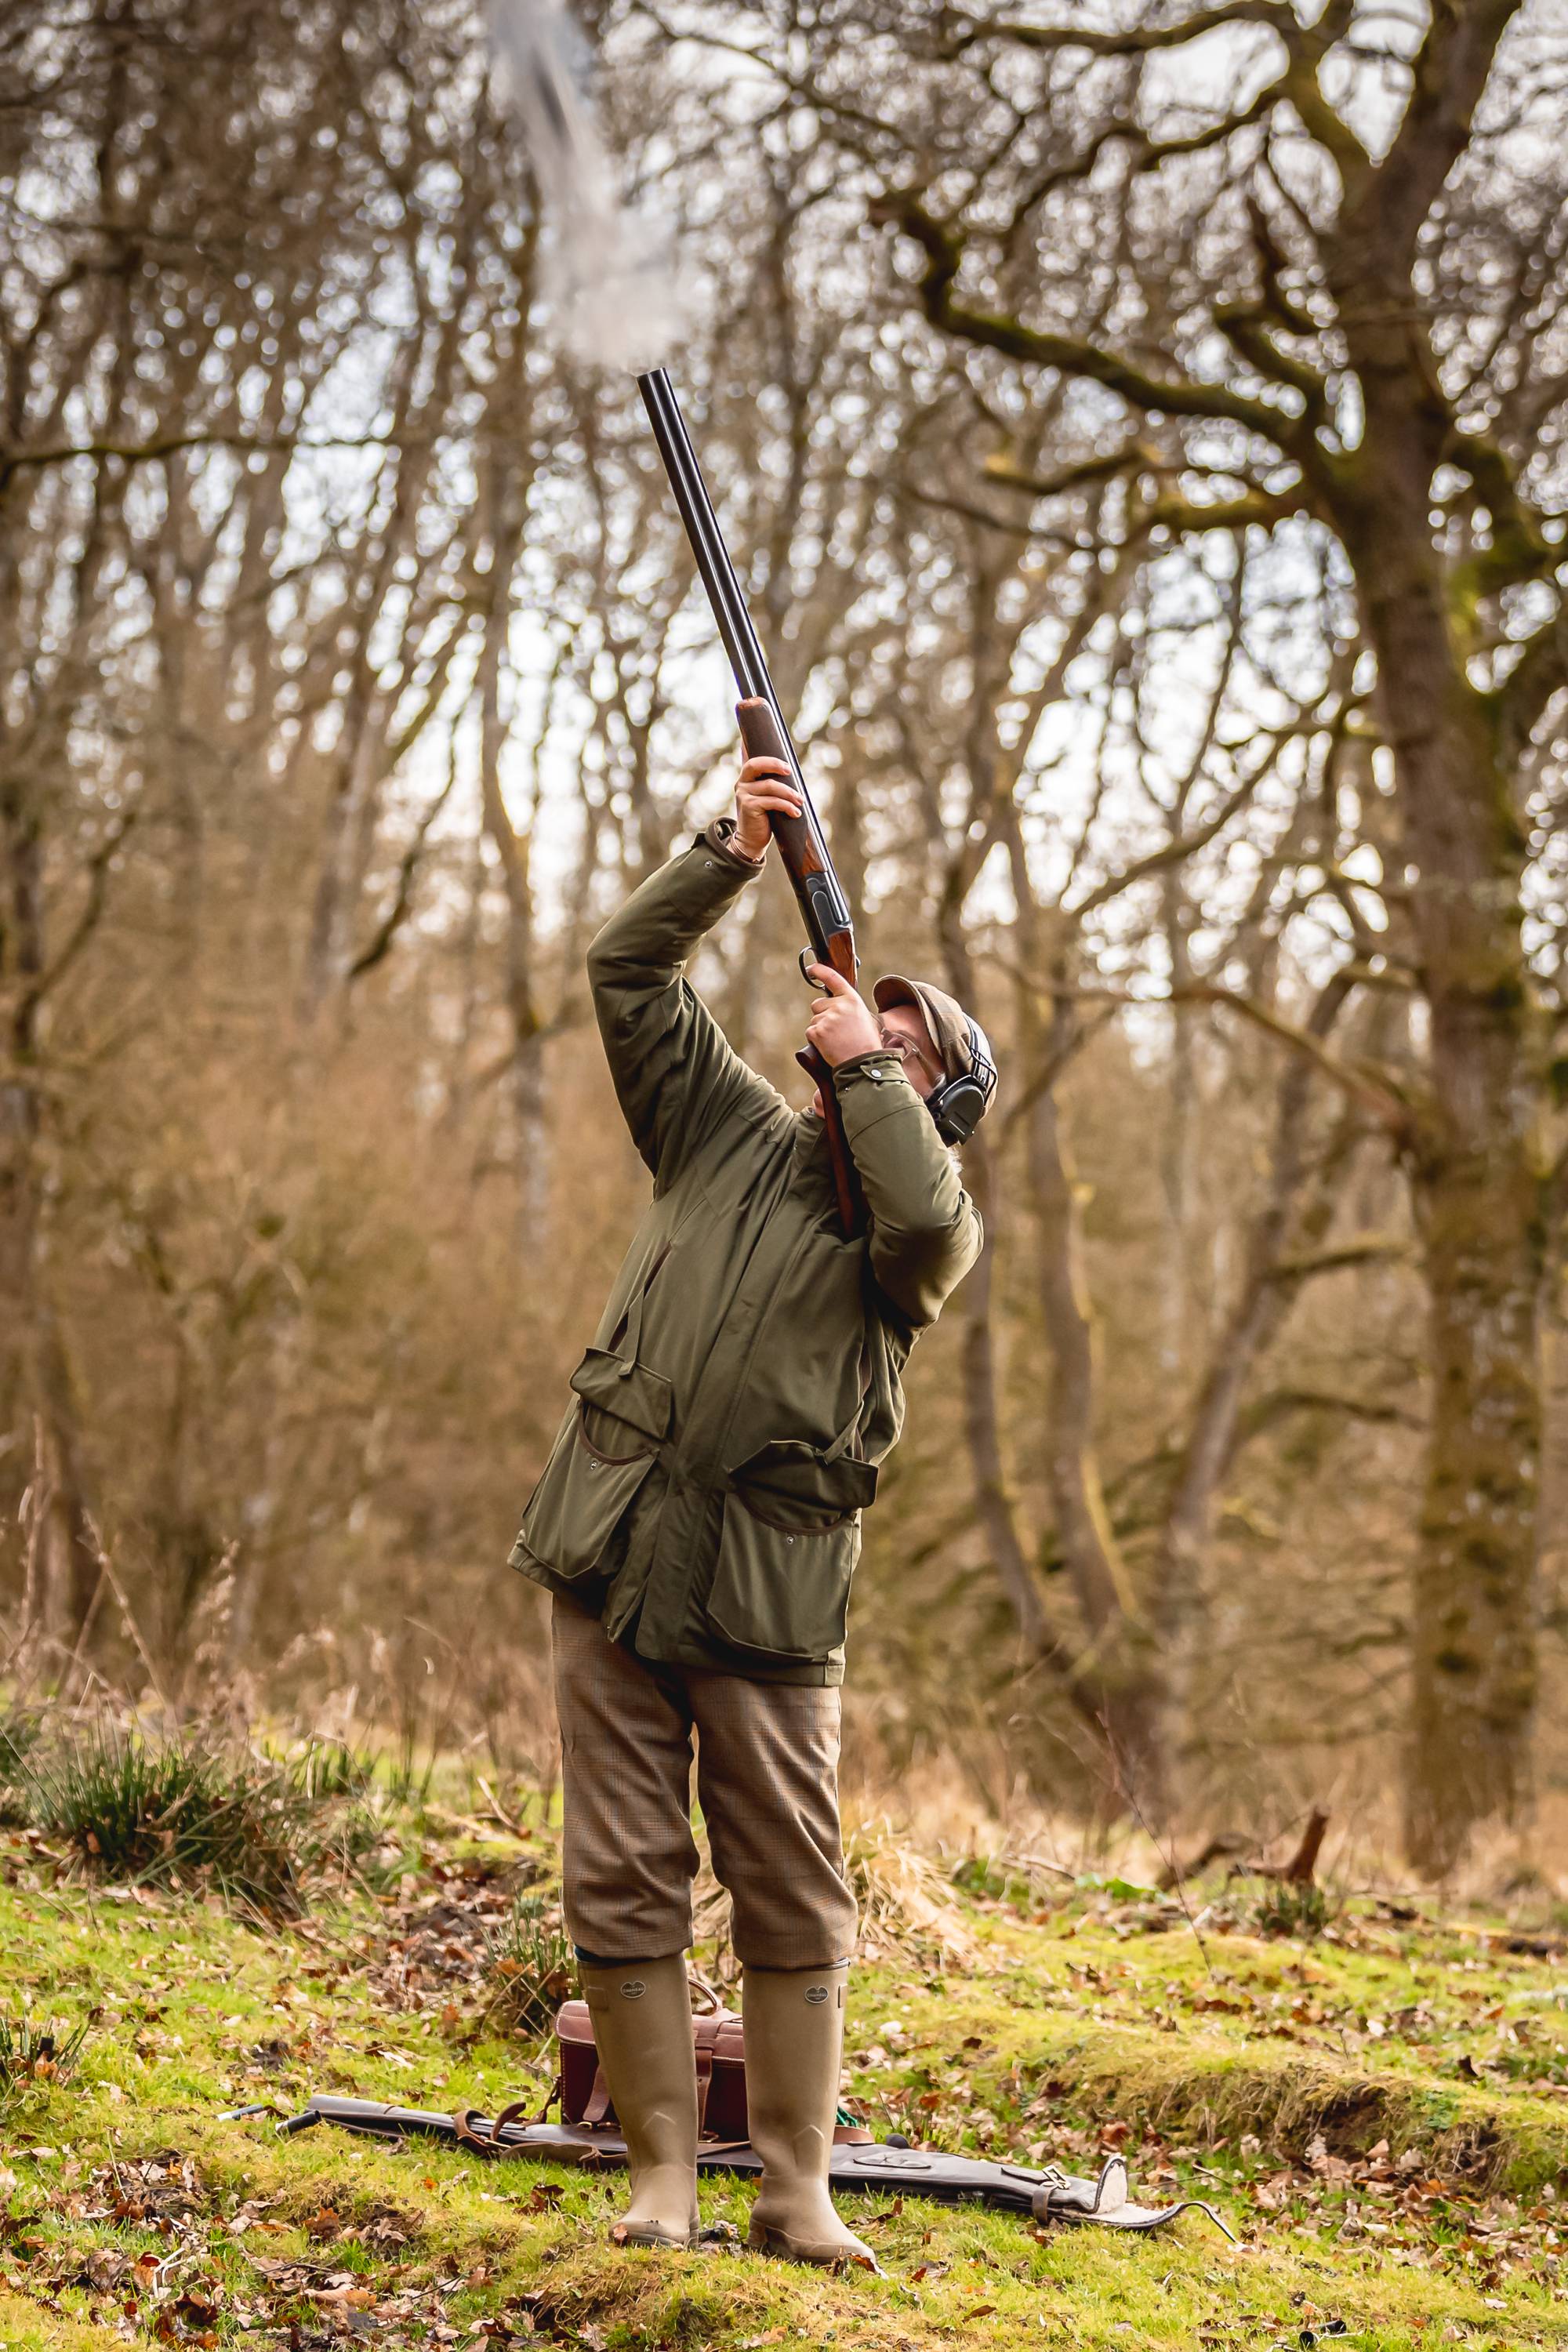
Footwork is a critical part of game shooting. And, according to Simon, there are a few important things to bear in mind. “Firstly,” he said, “it pays dividends to clear the area beneath your feet of brash and debris and create an oversized dinner-plate-sized area of level ground to move around on. This will allow you to balance properly when adjusting your feet to address birds at different angles.
“I’m really pernickety with my feet – I like to get them into the ground, so I always make sure I have an area to stand on that is clear of anything that might be distracting.”
So, how far apart should your feet be? Where should they be positioned when you are shooting? And how should your weight be distributed when shooting? “You want to keep your feet a maximum of shoulder width apart,” confirmed Simon. “And ideally just inside your shoulders.”
In terms of movement, your eyes will send the message to your feet once you have picked a bird, and your feet should then move into position before the gun is mounted. And Simon has an excellent, fool-proof method to ensure your feet are placed correctly...
“The pocket of your lead leg (left leg for right handers, right leg for left handers) should be square on to the window in the sky where you will pull the trigger,” he explained. “If you do that, your footwork won’t ever be far off. But if you don’t move to a position where that lead leg pocket is square to where you plan to shoot the bird, you’ll have a block in the flow of the swing and likely slow the swing, stop it, or lose your balance.”
Timing, as with any activity that involves hand-eye coordination and moving elements, is crucial. “Between moving your feet into the correct position and mounting your gun, there should be a moment’s pause,” said Simon. “That will allow you to set yourself and centre your balance.”
As for weight distribution, for the majority of pheasant and partridge shooting, Simon recommends a 50/50 split between both feet. “If you were shooting traditional partridges over high hedgerows, it would be more like 60/40 in favour of your front foot,” he added.
When do you switch to hard focus when shooting?
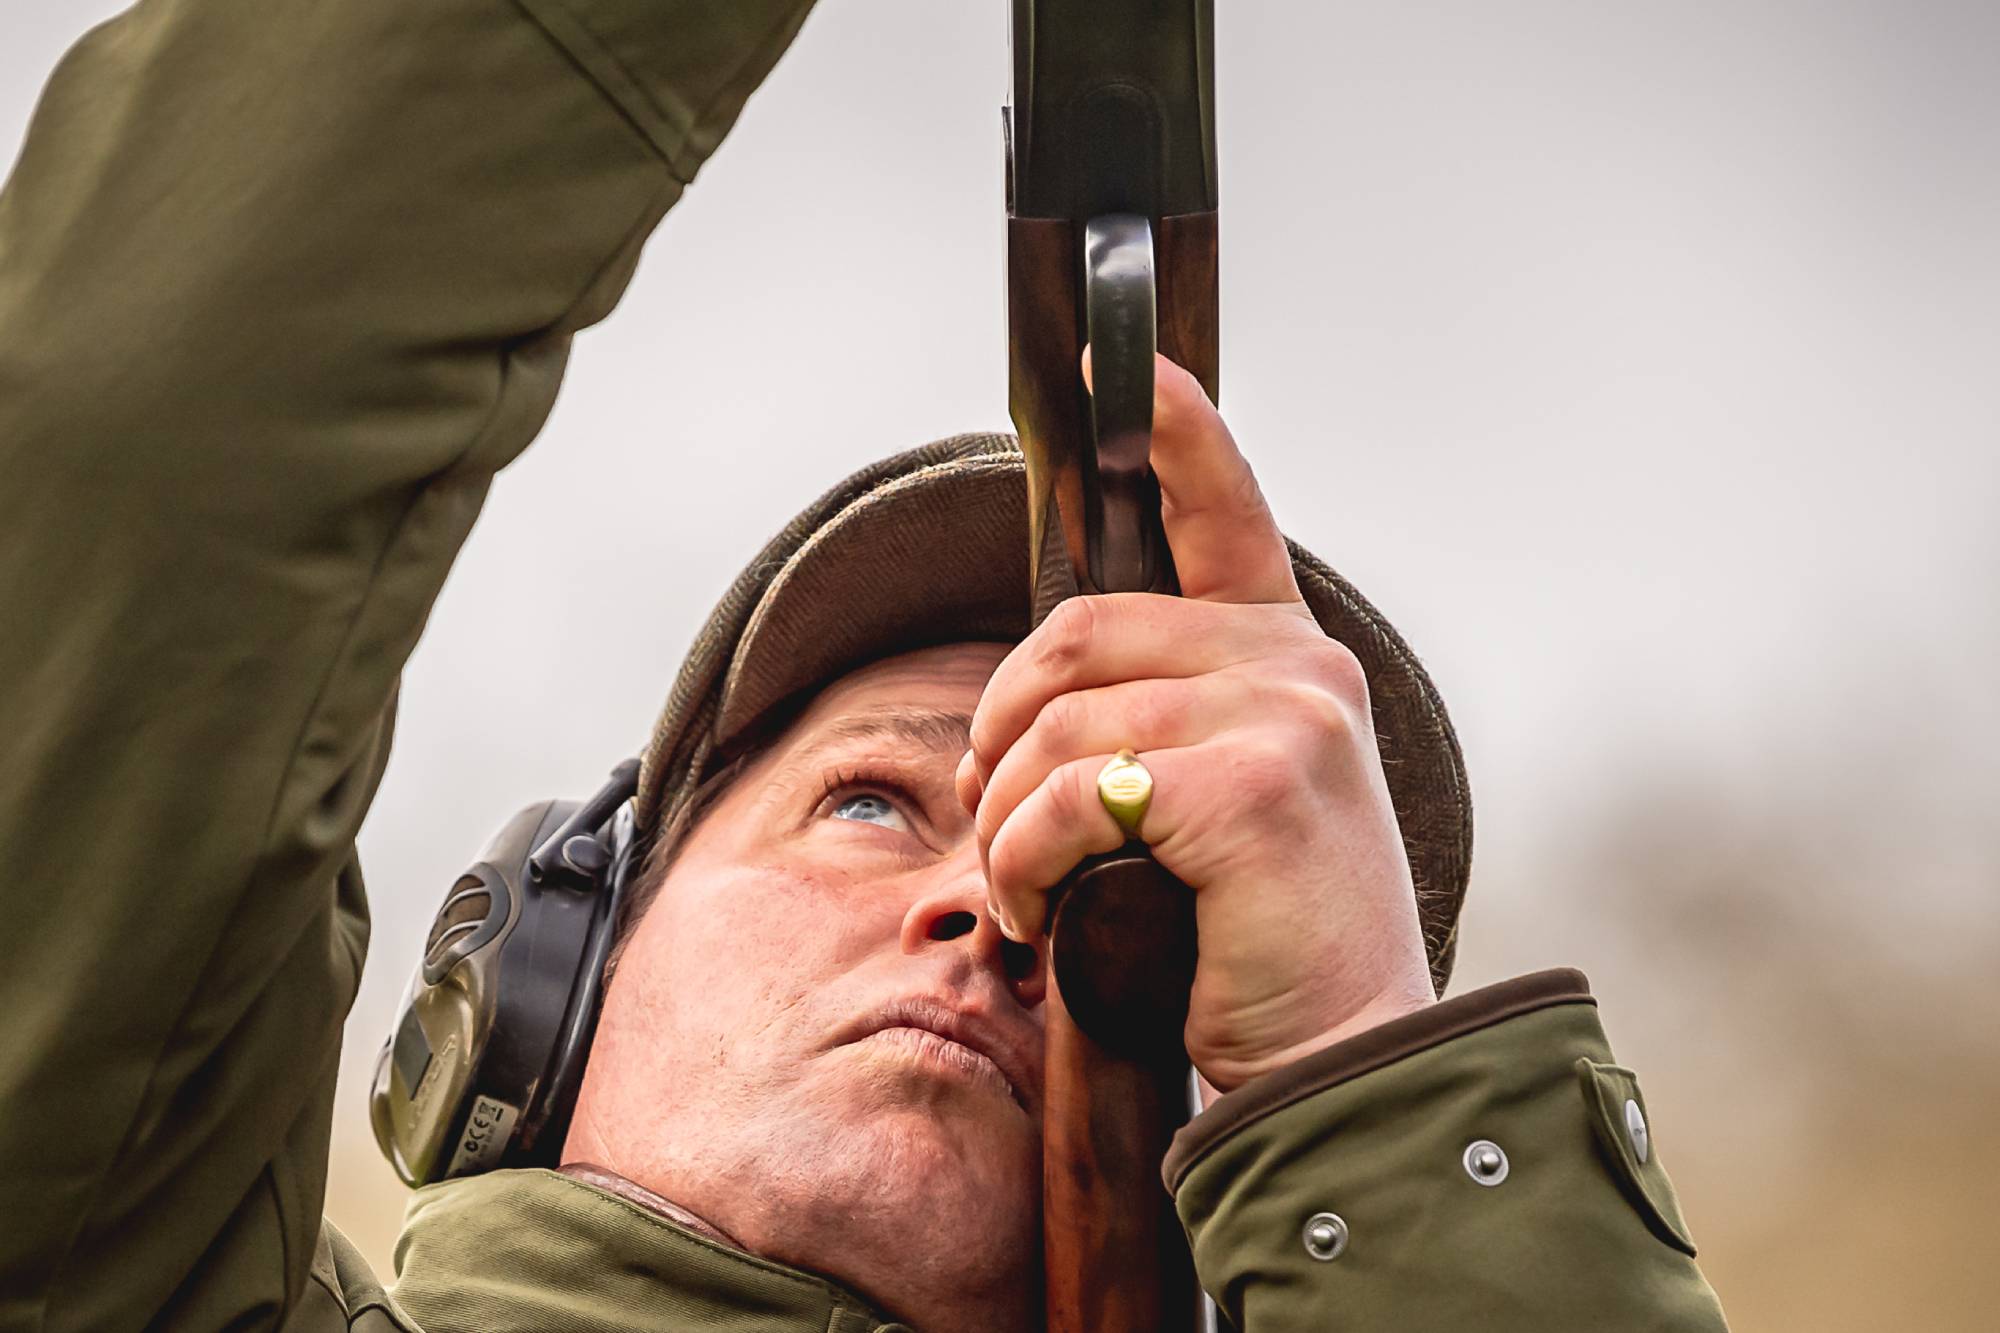
Have you ever thought about how you are watching birds as they flush or make their way towards your position in the line? Ever wondered at what point you should start really staring hard at the bird you plan to shoot? “You should be using soft focus until you have positioned your feet and start to mount the gun to shoot,” advised Simon. “Then you switch to hard focus, which is that hard stare, as you mount the gun.
“Remember that your eyes are made up of muscles. If you try to focus hard on birds from the moment they flush, those muscles soon become tired and you’ll find that you’re unintentionally switching to soft focus when the gun is in your shoulder, which makes it very difficult to judge line, range and speed.”
How are you gripping the gun when shooting?
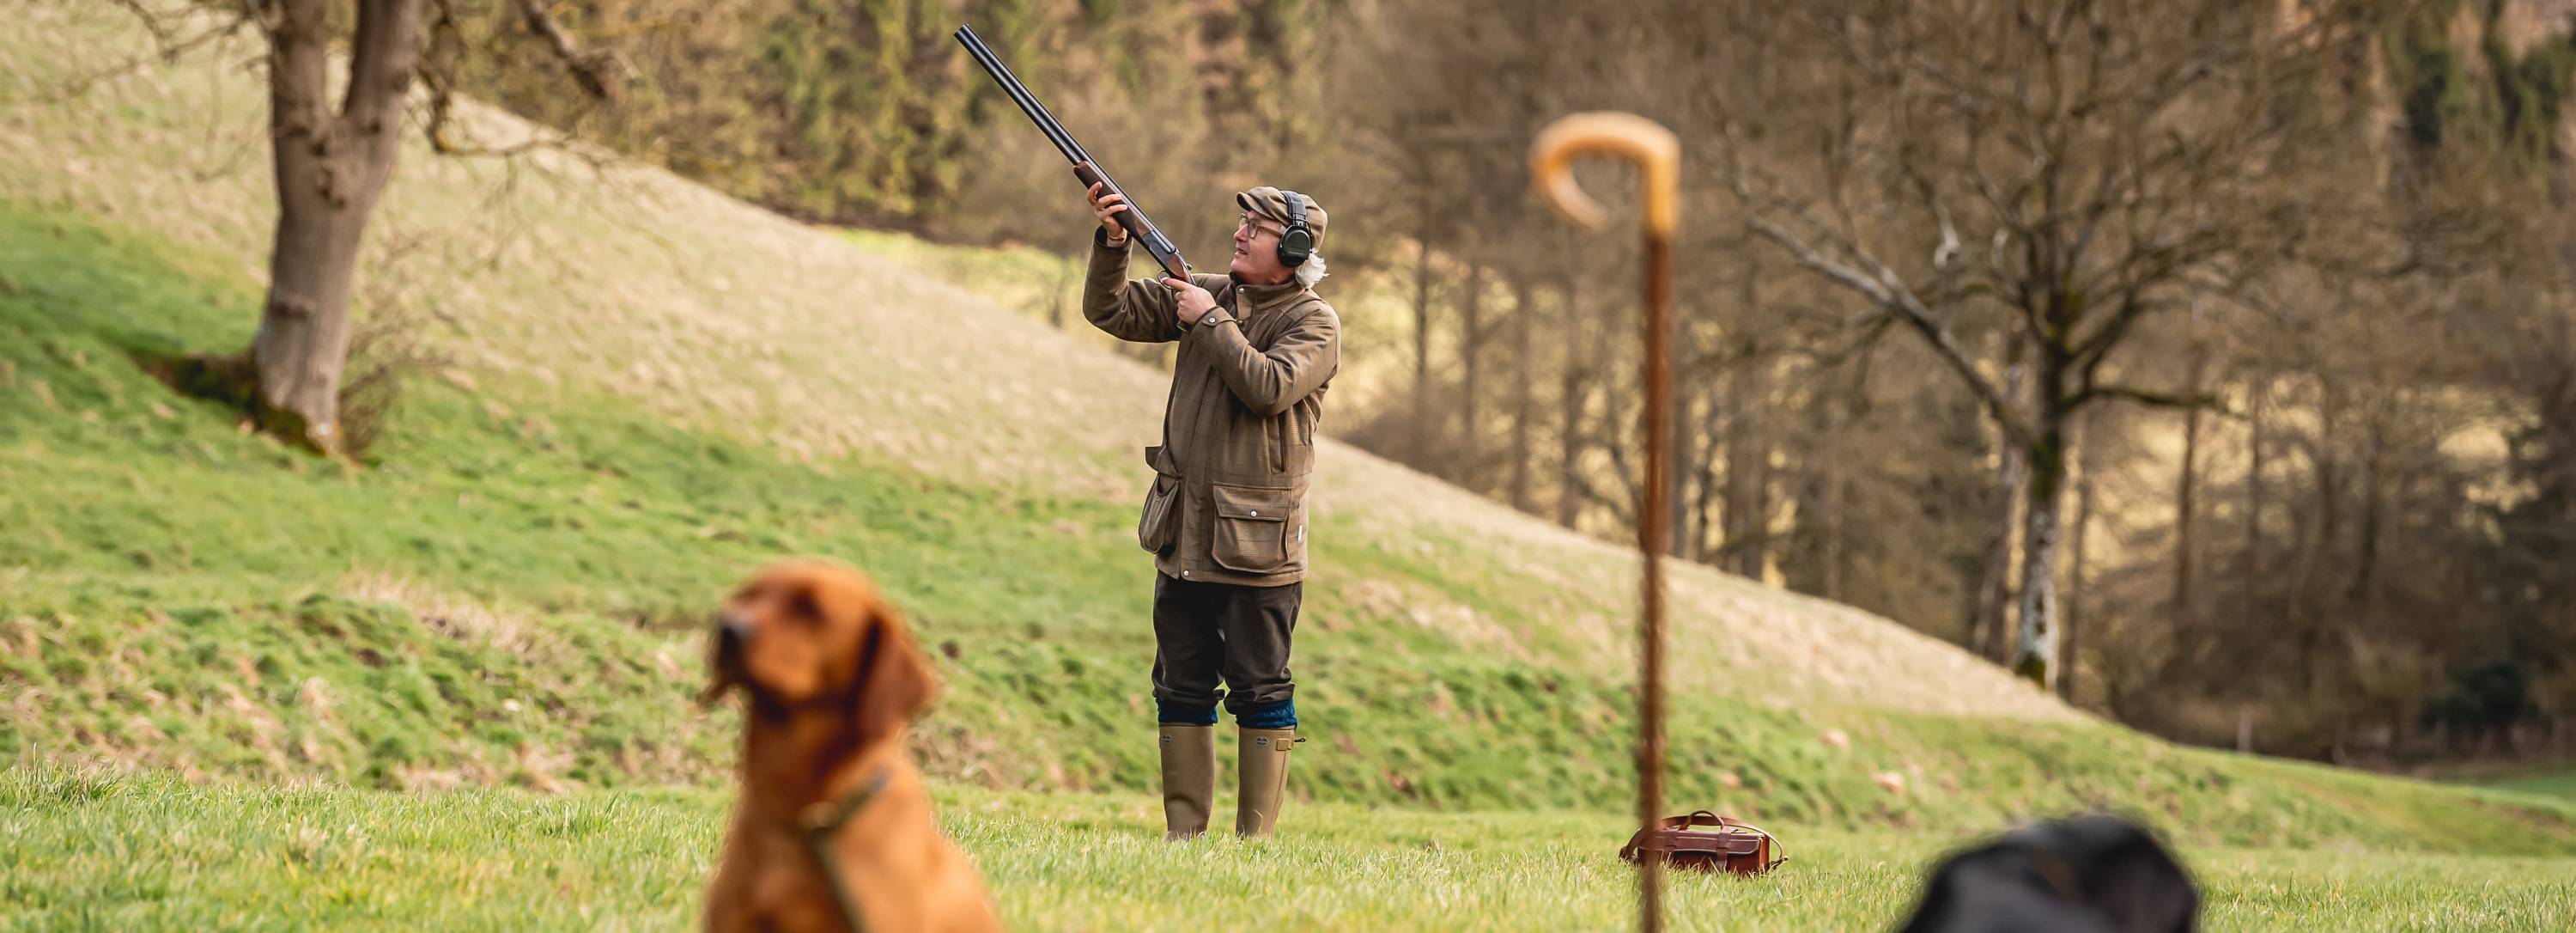
When it comes to gripping your gun, exactly where you hold the fore-end will, of course, depend on the length of your arms and the type of gun you are using. “Your lead hand should be far enough up the fore-end so that when you mount the gun, your muzzle doesn’t dip,” explained Simon. “On a side by side, your lead hand will typically be further up the fore-end than it would be on an over-under – sometimes your lead hand will be beyond the tip of the fore-end – and your lead arm will almost be straight.”
Regardless of the orientation of your barrels, though, you should be aiming for a ‘parallel mount’. “If you hold the fore-end too far back, your back hand will dominate the mount, too, and we don’t want that. Your lead hand should do the pointing, and your grip hand should do the lifting to the cheek and shoulder. If you do both of these movements in harmony, you achieve that parallel mount which really helps with consistency.”
Do you move your head when mounting the gun?
Once you’ve prepared your feet and given yourself a moment to centre your balance, it’s time to mount your gun. “Always raise the stock to the ledge of your cheek and shoulder while keeping your head still and your eyes level to the line of the bird that you are going to shoot,” said Simon. “If you don’t keep your head still, and instead drop your cheek to the comb, your eyes will be out of alignment with the rib of the gun, so you will not be shooting where you are looking. This is a very common mistake.”
How do you keep the gun moving when it is mounted?
We all know that stopping the gun or not ‘completing the shot’ is detrimental to good shooting. But what can we do to ensure we keep our head on the stock and the gun moving during and after the shot?
“Being ready for a second shot with your trigger finger will naturally help to keep your gun moving,” said Simon. “If you plan to have only one shot, you pull the trigger and leave your trigger finger in a backward position rather than releasing it forward to be in the ready position again – and this prompts you to stop or slow down the swing of the gun.
“Always planning to have two shots stops a lot of common bad habits like lifting your head off the stock after the first shot and then having to reset everything again.
“Try it now... Using two fingers on an outstretched arm as your barrels, swing your imaginary gun from right to left and pull the trigger but fully release the trigger finger afterwards. There’s something about that movement of releasing the trigger in anticipation of a second shot that encourages you to keep your head down and continue your swing.”
How often do you practise the basics of shooting?
It’s not always easy to find the time to practise at a shooting ground on a regular basis, and Simon was quick to acknowledge that. But he was also adamant that even simple exercises from the comfort of our homes – with a gun using snap caps, with a walking stick, or even with an outstretched arm as an imaginary gun – can be of value. “It’s still going through the motions of methods that you will be using in the field,” he observed.
“It’s still honing skills. You can still create that muscle memory and learn to stick to a method that you’ll be using in the field so that when you are out there on the peg, your shooting will be that bit more fluid. After all, the more we practise, the more relaxed and confident we tend to be.”
