


Driven grouse at Gleneagles with Ed Solomons
Introduction
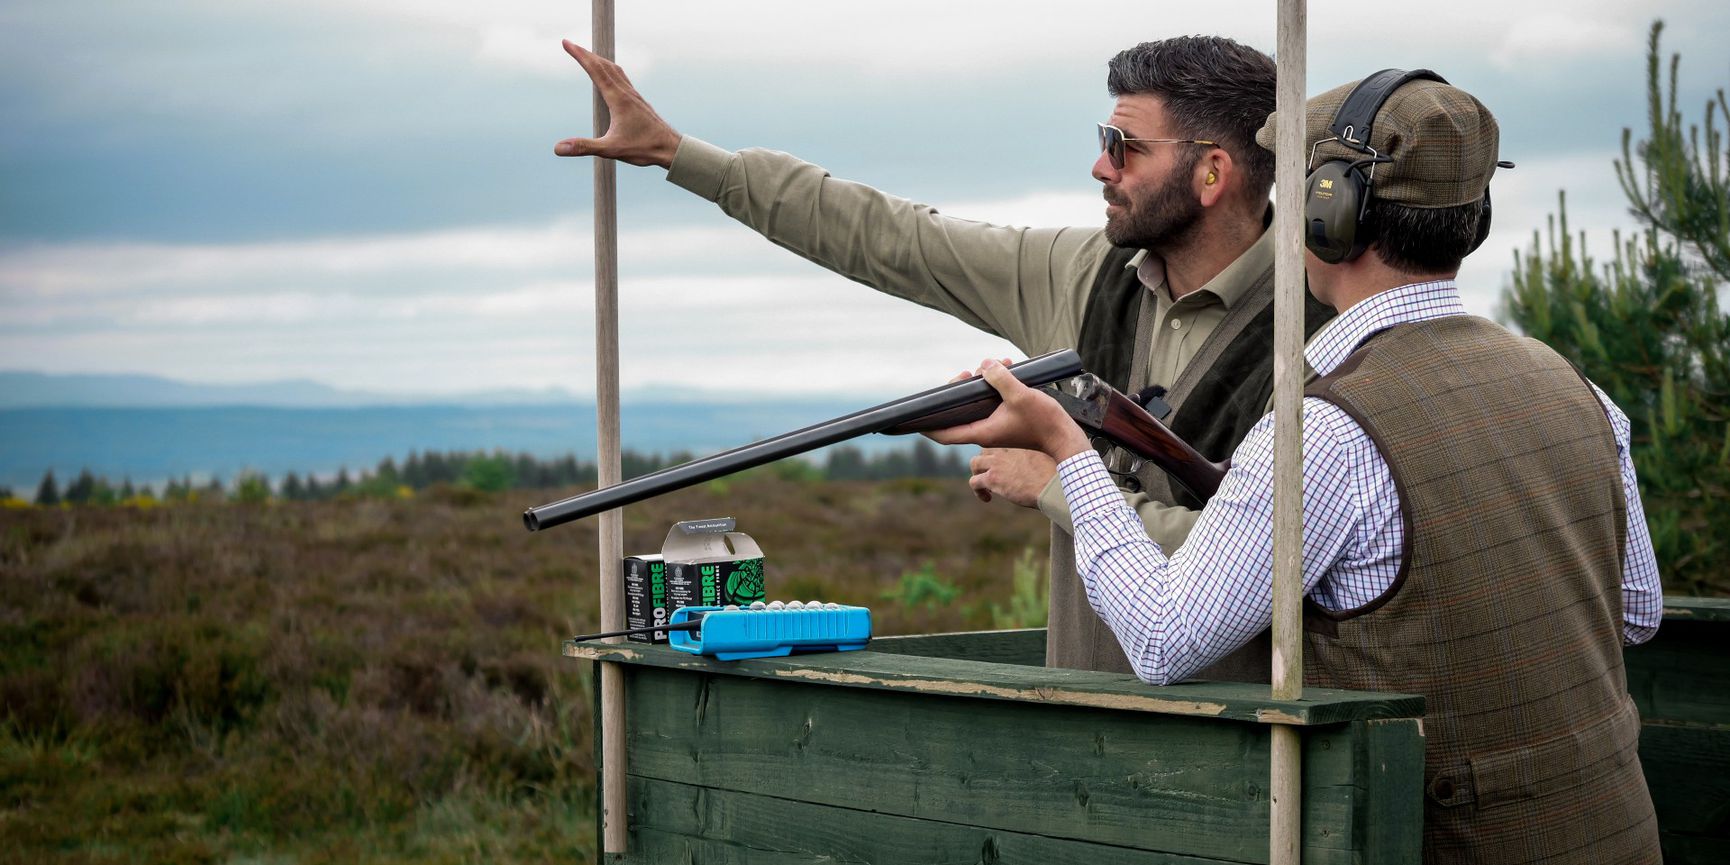
Ed Solomons and Yuri Janssen head up to Gleneagles’ natural moorland range to discuss the fundamental safety considerations of grouse shooting and how an experienced shot can shoot grouse more instinctively.
Shooting history
Yuri is an experienced shot & fisherman, having grown up in South Africa and Scotland. He moved permanently back to the UK in 2016 before becoming the Country Pursuits Manager at Gleneagles in 2018.
Safety
Safety is paramount with all types of shooting, but especially grouse shooting. One of the first things to do when you first step into the grouse butt and before you get your gun out, is make sure you are aware of your surroundings, neighbouring guns and beating line.
Comfortable ear and eye protection are essential. Look for impact resistant lenses and good eye coverage for your glasses.
Sticks
For grouse shooting, you’ll be provided with set of sticks which you are responsible for placing at the sides of your butt. This is to ensure that you are safe when shooting and unable to swing through the line of guns.
A good rule of thumb is to push yourself up against the butt so when you put your sticks in, you have a constant fixed position. You would then set the height of the sticks so you can easily lift your gun over the sticks and out the back of the butt without swinging through the line of the guns.
Also be aware that there might be different inclines and spaces between butts.
If you are on the end two butts, make sure you know where the flankers are and acknowledge them before the drive starts. A grouse drive is a changing, fluid situation so you may need to adjust your sticks accordingly throughout the drive. If in doubt, tighten them up.
Cartridges
For today’s lesson, Yuri is using Hull Cartridge Pro-Fire.
For grouse, Ed recommends Hull Cartridge Driven Grouse in either a 28 or 30g 6. This will give you minimum recoil, especially if you are using a traditional side by side.
Making things easier
Yuri is a proficient shot, and the gun is sitting well in his shoulder, so he has no problem breaking the first few targets.
However, Ed suggests that there are a couple of small teaks that he can implement that will make the shot easier and more consistent.
The first is to is making sure your weight is over your front foot. Grouse are fast and low birds, so you need a punchy, instinctive movement out in front and not a long swing through as you would for high pheasants.
Secondly, when Yuri mounts the gun, his back hand is doing most of the work, so as the gun comes up into his shoulder, the barrels are dropping, causing it to see-saw and forcing a rushed shot. Even though he is breaking the targets, he is hitting them late on the back edge. This would not give him time or space for a second shot.
To help this, Yuri needs to split the work evenly between his hands and move them at the same pace, bringing the gun up parallel to the ground in one smooth movement so when his gun hits his face, he will be connected just off the back of the bird in a short move. It will be much less work and give him more time for the shot.
At this stage, don’t be tempted to mount in front of the bird because you have more time. You’ll lose the bird behind the barrels. Think of moving into the tail feathers and move into the bird instead.
A crossing grouse
For this target, Ed introduces some footwork, so Yuri can get used to turning into the bird and moving away from the target rather than shooting everything out in front.
As Yuri looks back for the bird, his barrels also come back and then he chases the bird back again, moving in two directions.
He needs to hold his gun slightly further out. Then, his eyes come back to see the target, he initiates the mount, connects with the target on or just in front of it, has a short stretch and pulls the trigger.
Summary for crossing targets
Open your feet up with wider targets. This will give you more room to finish the shot off.
Don’t come from so far behind the target. By the time you get to your sticks you’re out of space and time. By starting a little bit further in front and having a slow, smooth mount and stretch, the process will feel considerably slower, smoother, and easier.
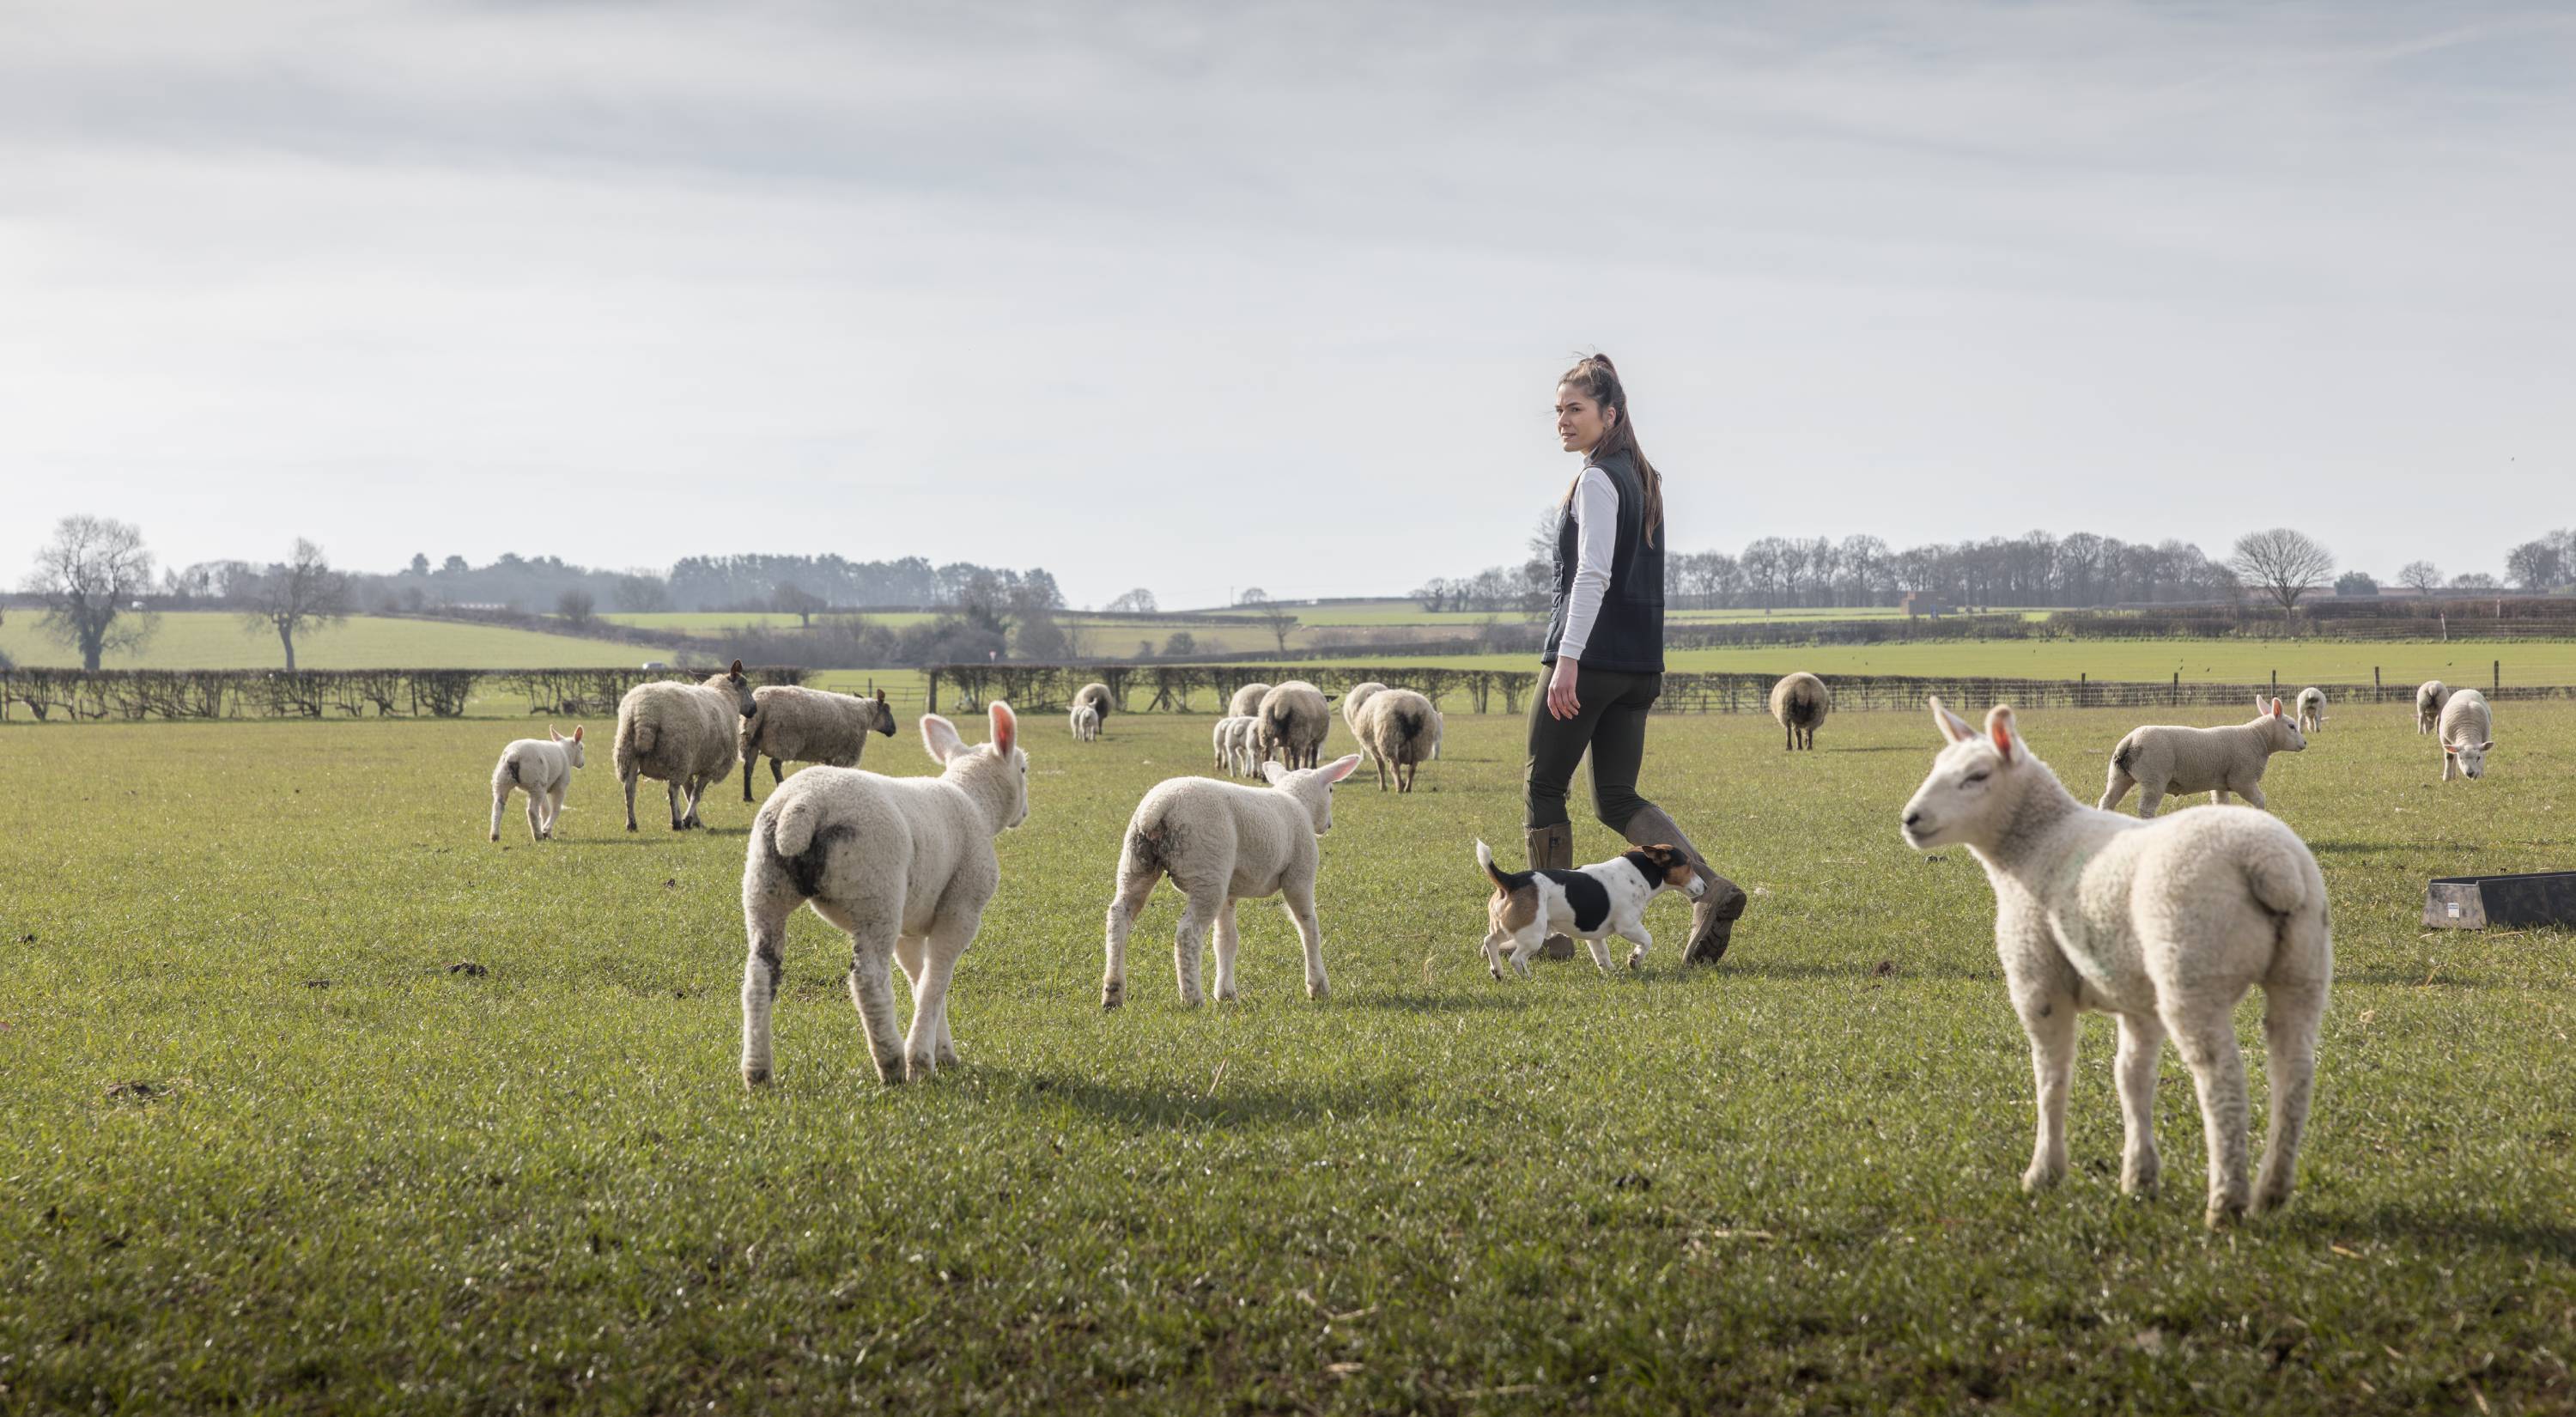 Field Notes5 min readFarmers are in despair, and here’s why – with Rebecca WilsonRead post
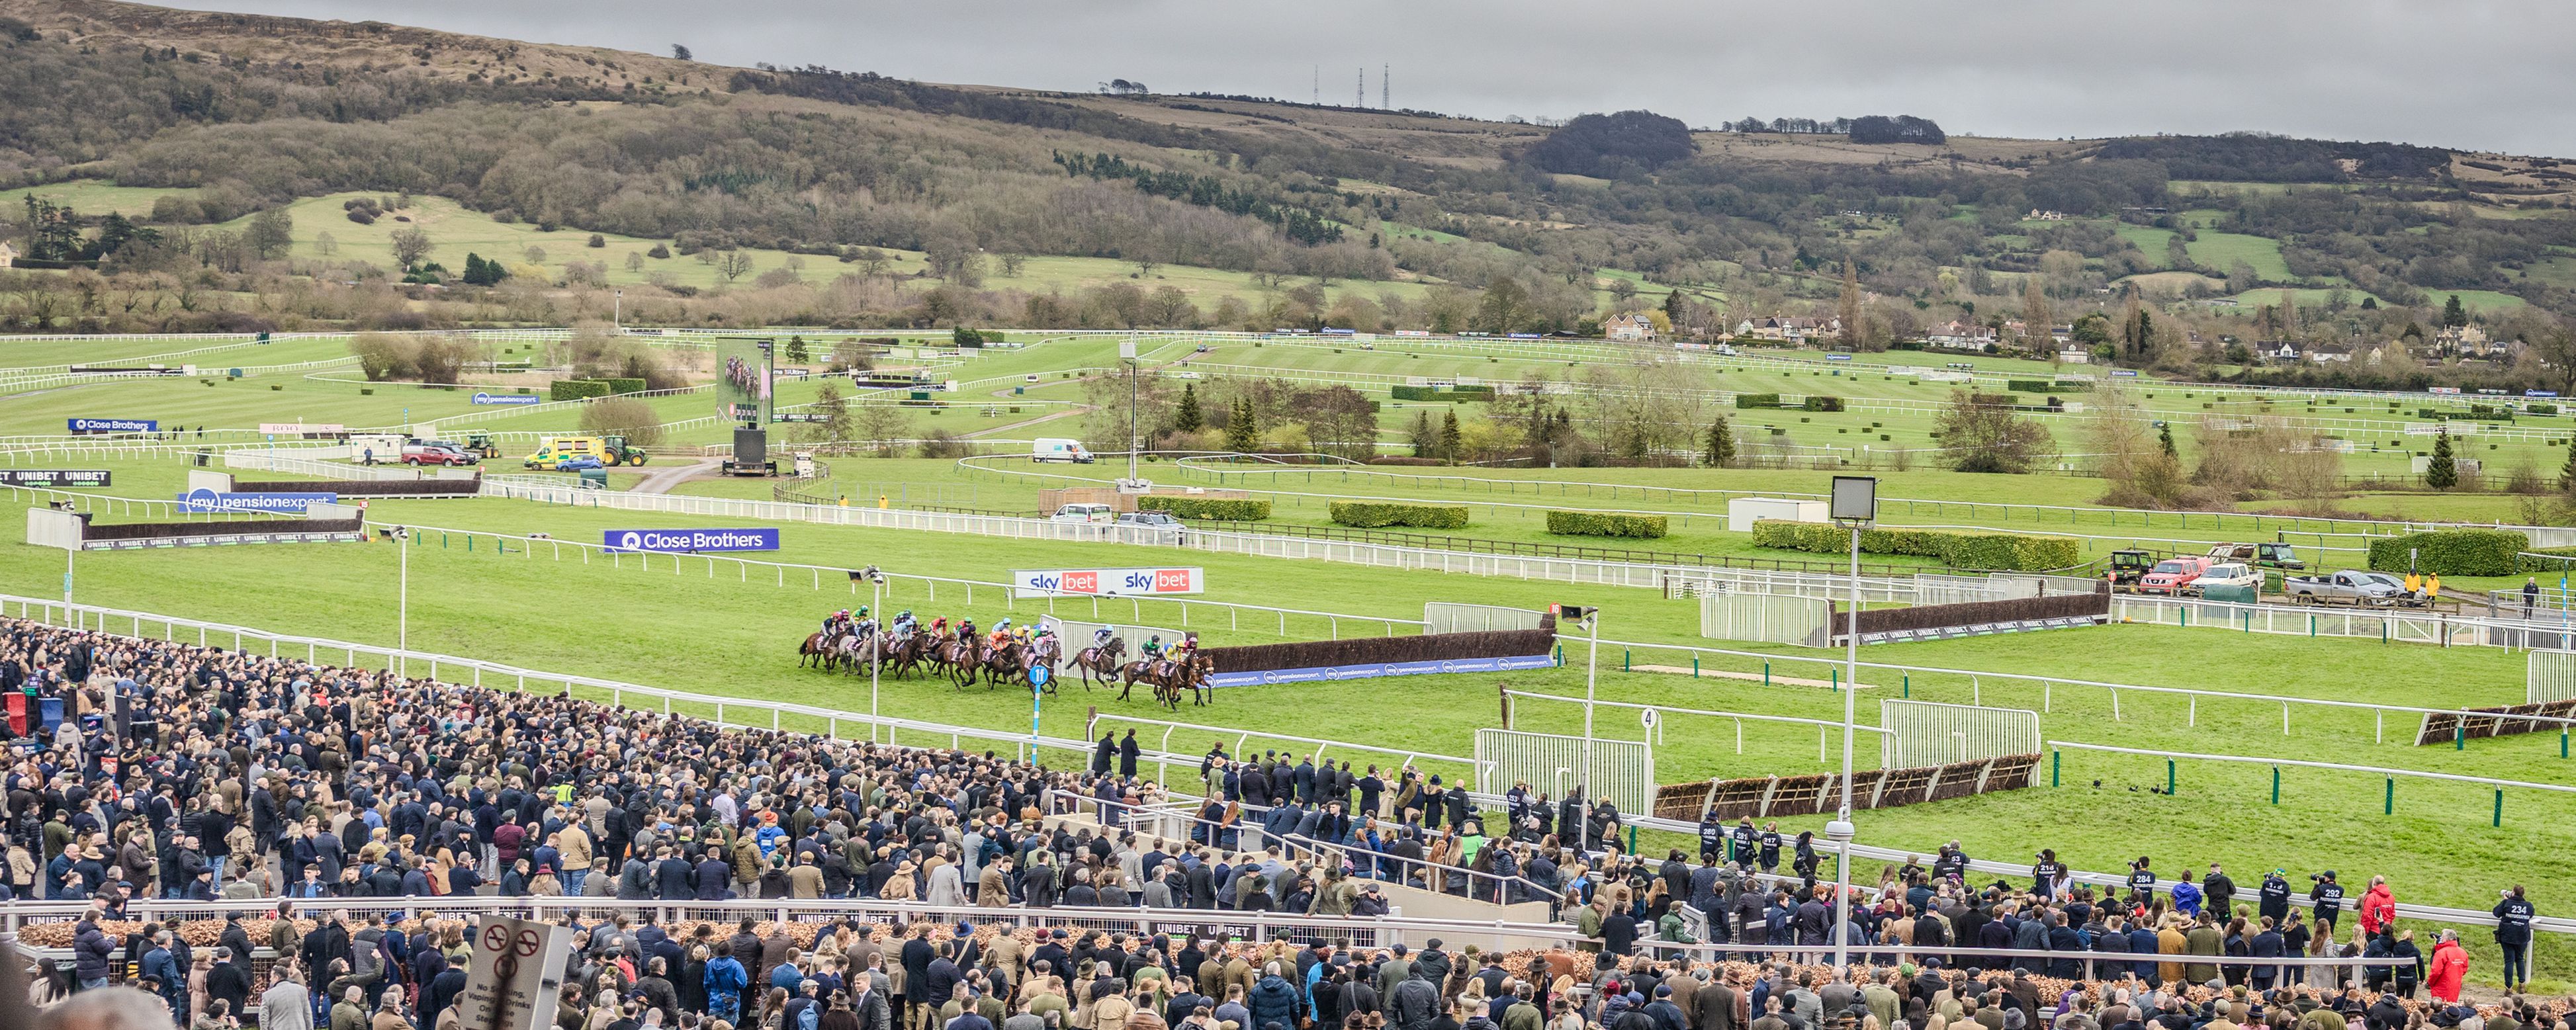 Field Notes6 min readOur guide to the Cheltenham FestivalRead post
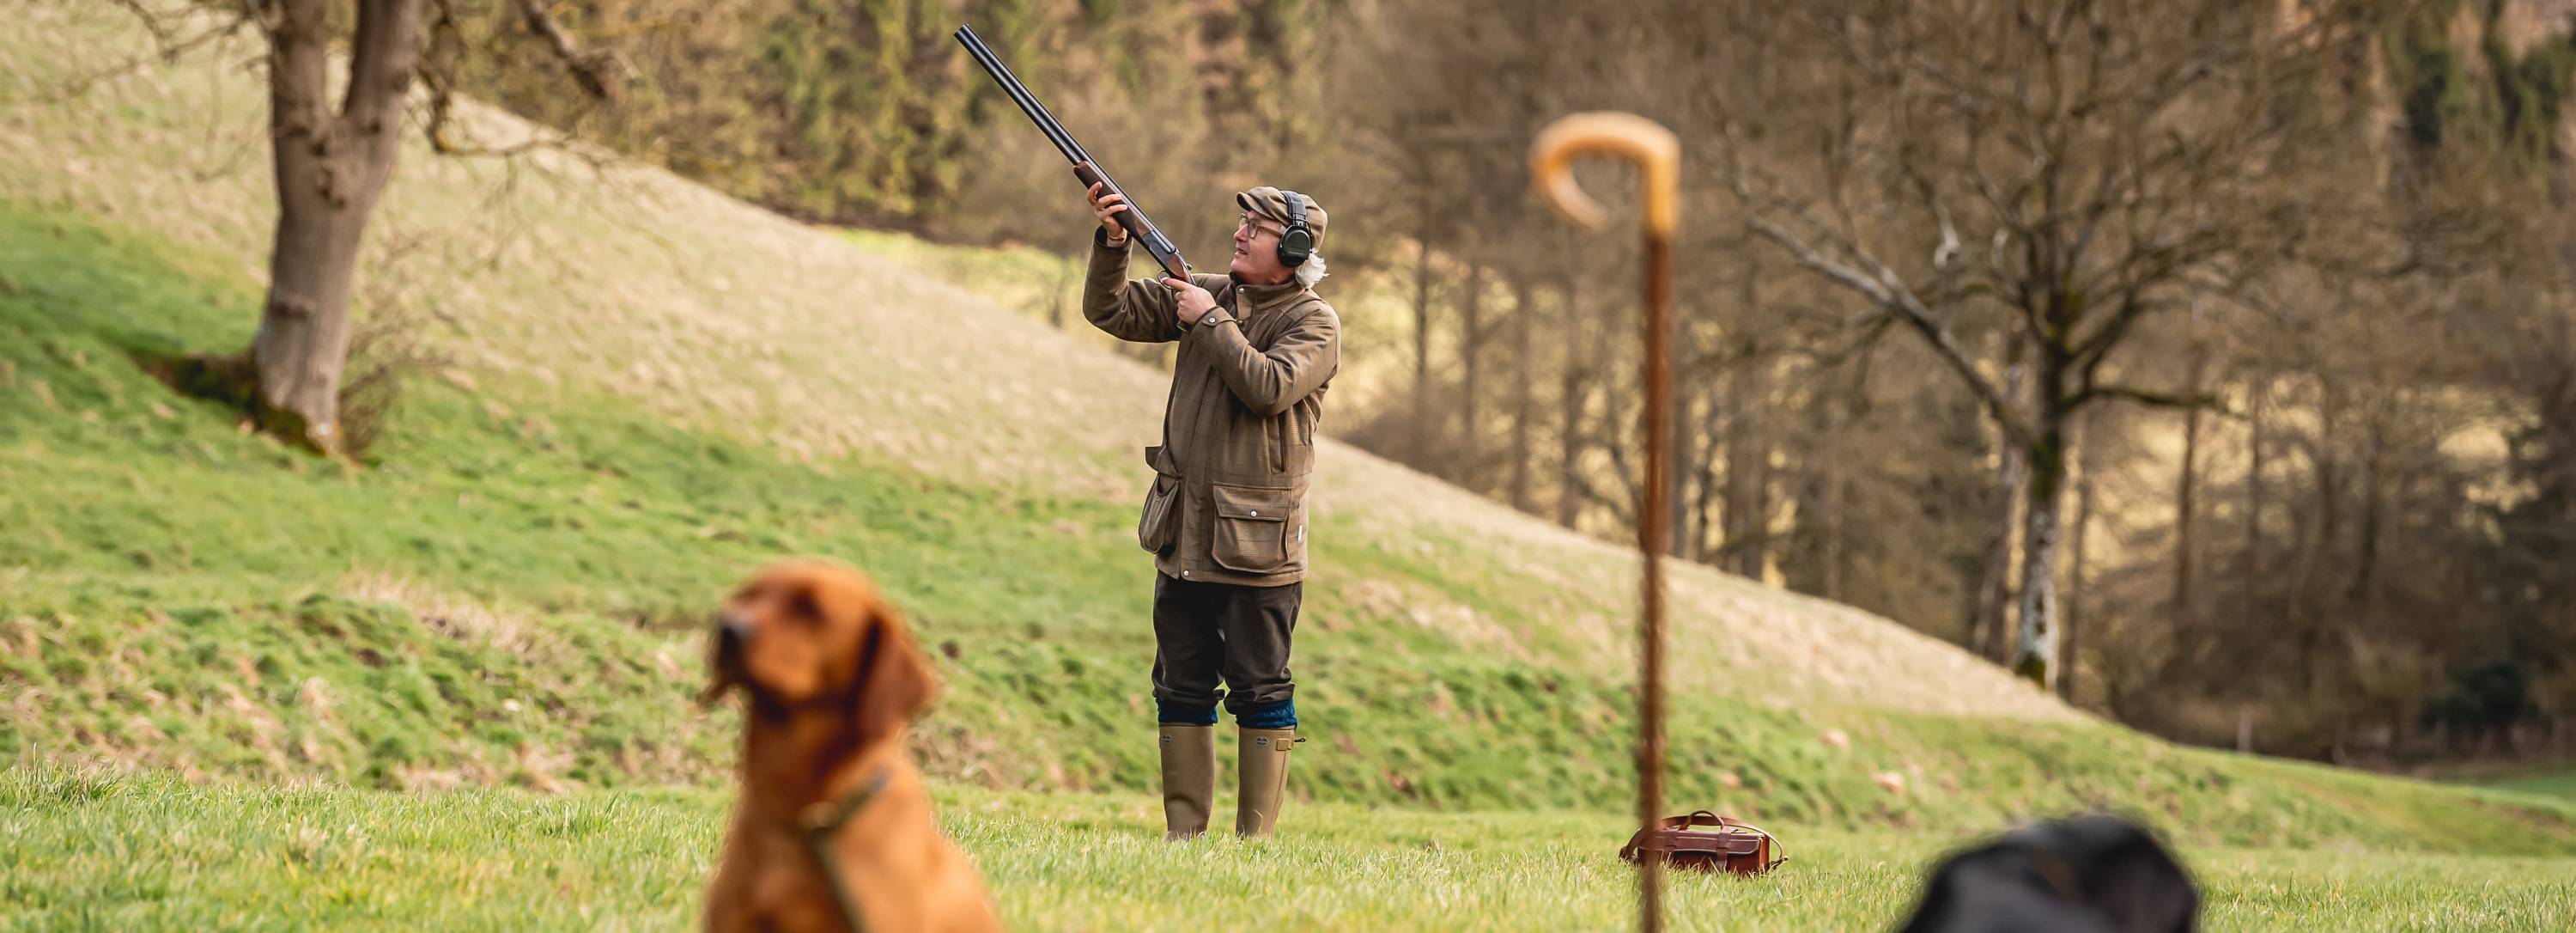 Field Notes10 min readEight steps to becoming a better game Shot, with Simon WardRead post
 Field Notes8 min readBurghley: A brief guide to horse trialsRead post
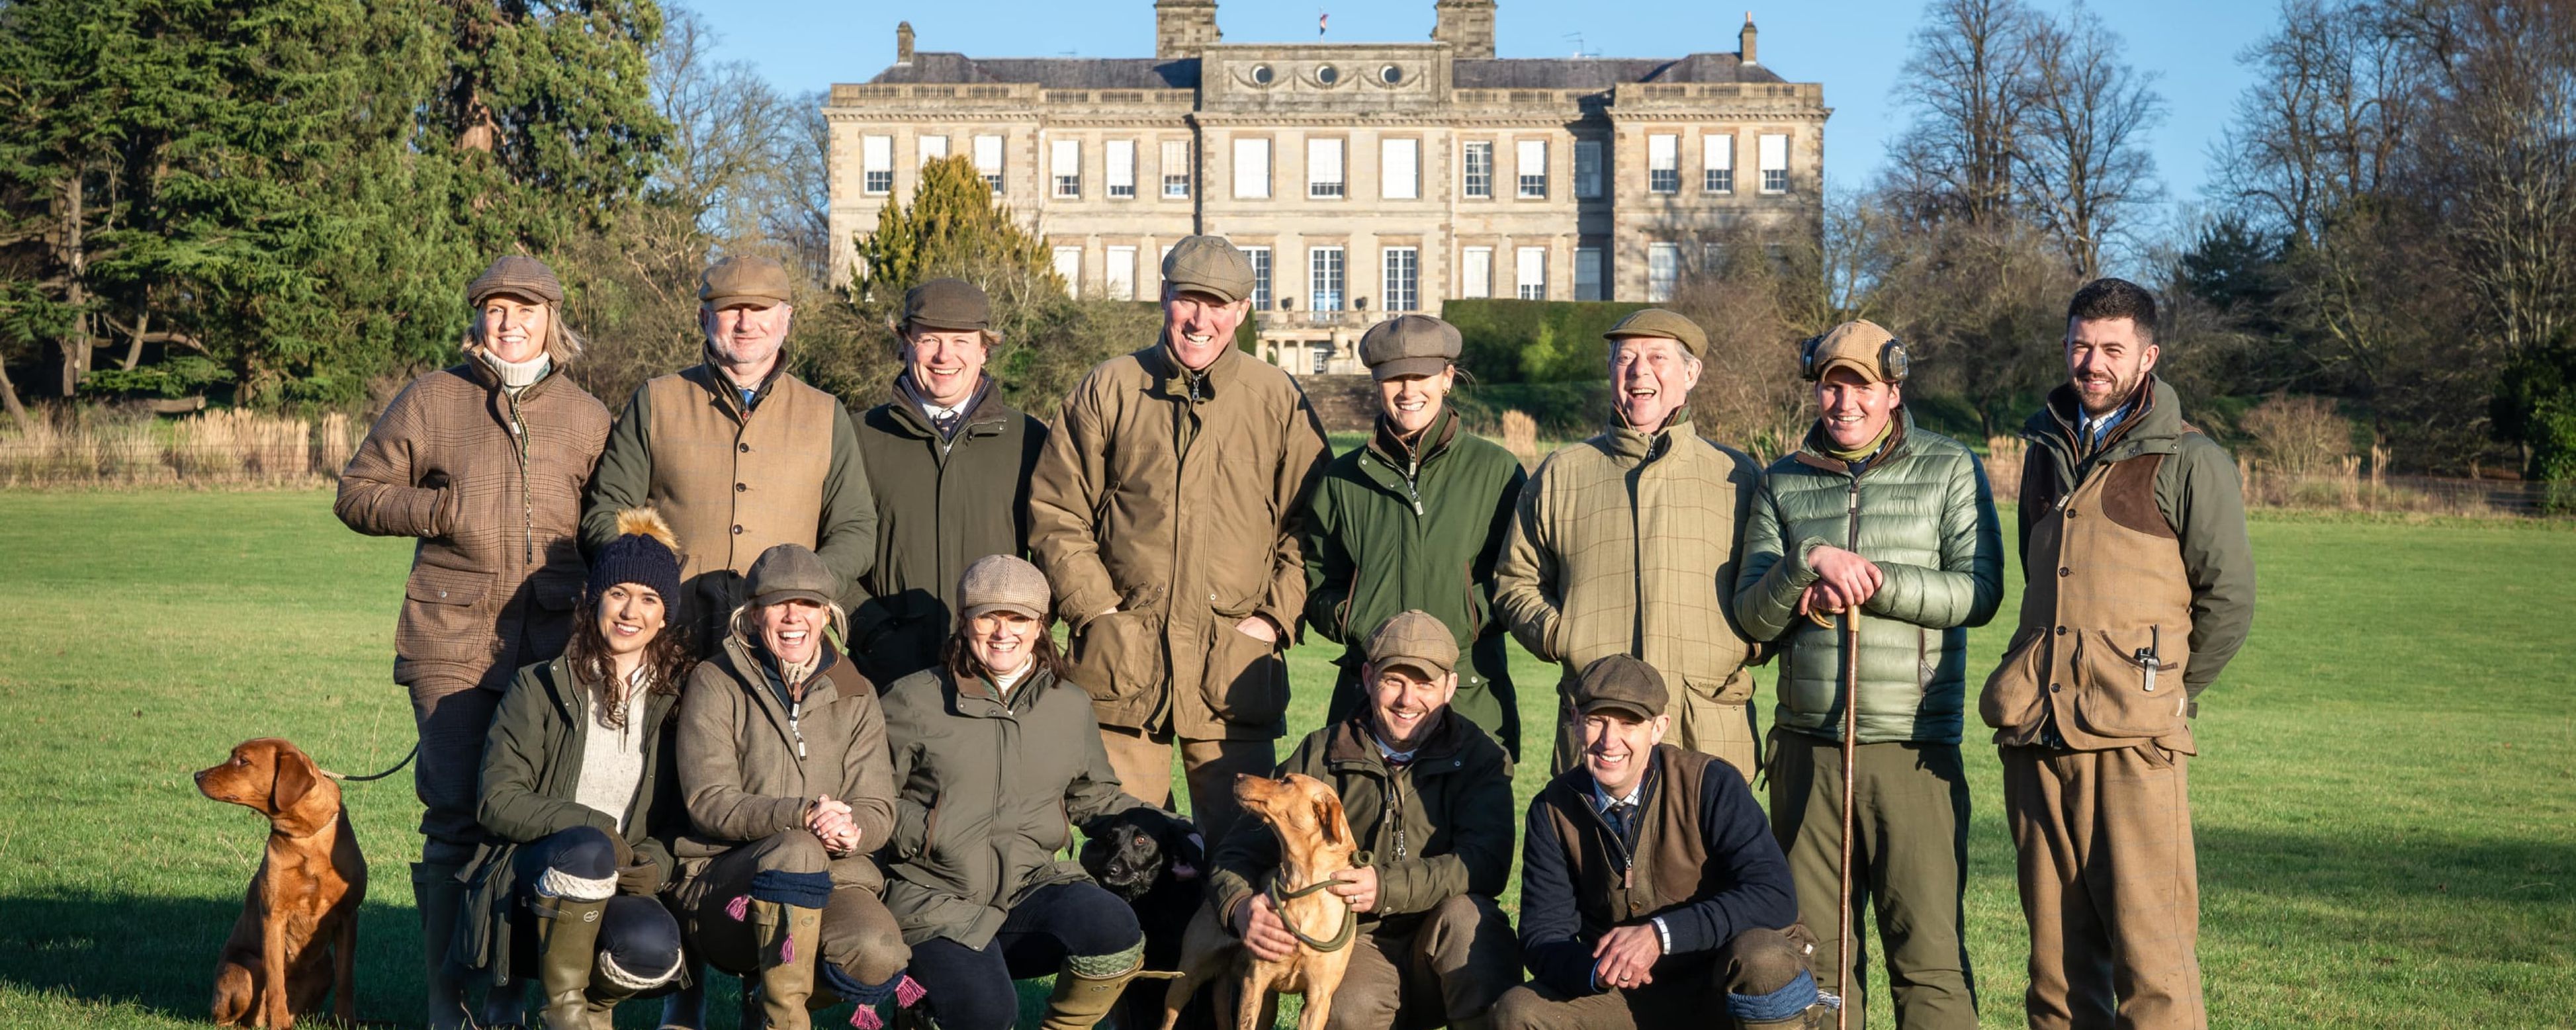 Field Notes2 min readA days shooting with the Schoffel Country teamRead post
 Field Notes2 min readSchöffel Country Ptarmigan ginRead post